How to Create a View
Views as Filters
Dragon1 supports creating views. A view is a filter on top of a model.
Prerequisites
Before creating a view, data is normally entered, and a model (such as a process or application model) and a visualization are created.
This can be done in the Collaboration, Viewer, Architecture Repository, and Visual Designer applications.
On the page Create a Model, you can learn how to create a Model in the Collaboration Application and the Architecture Repository application.
On the page Create a Visualization, you can learn how to create a Visualization in the Collaboration Application and the Visual Designer application.
How to Create a View in the Collaboration Application?
To create a view:
- Log in
- Go to the Data Dashboard or the Collaboration Application
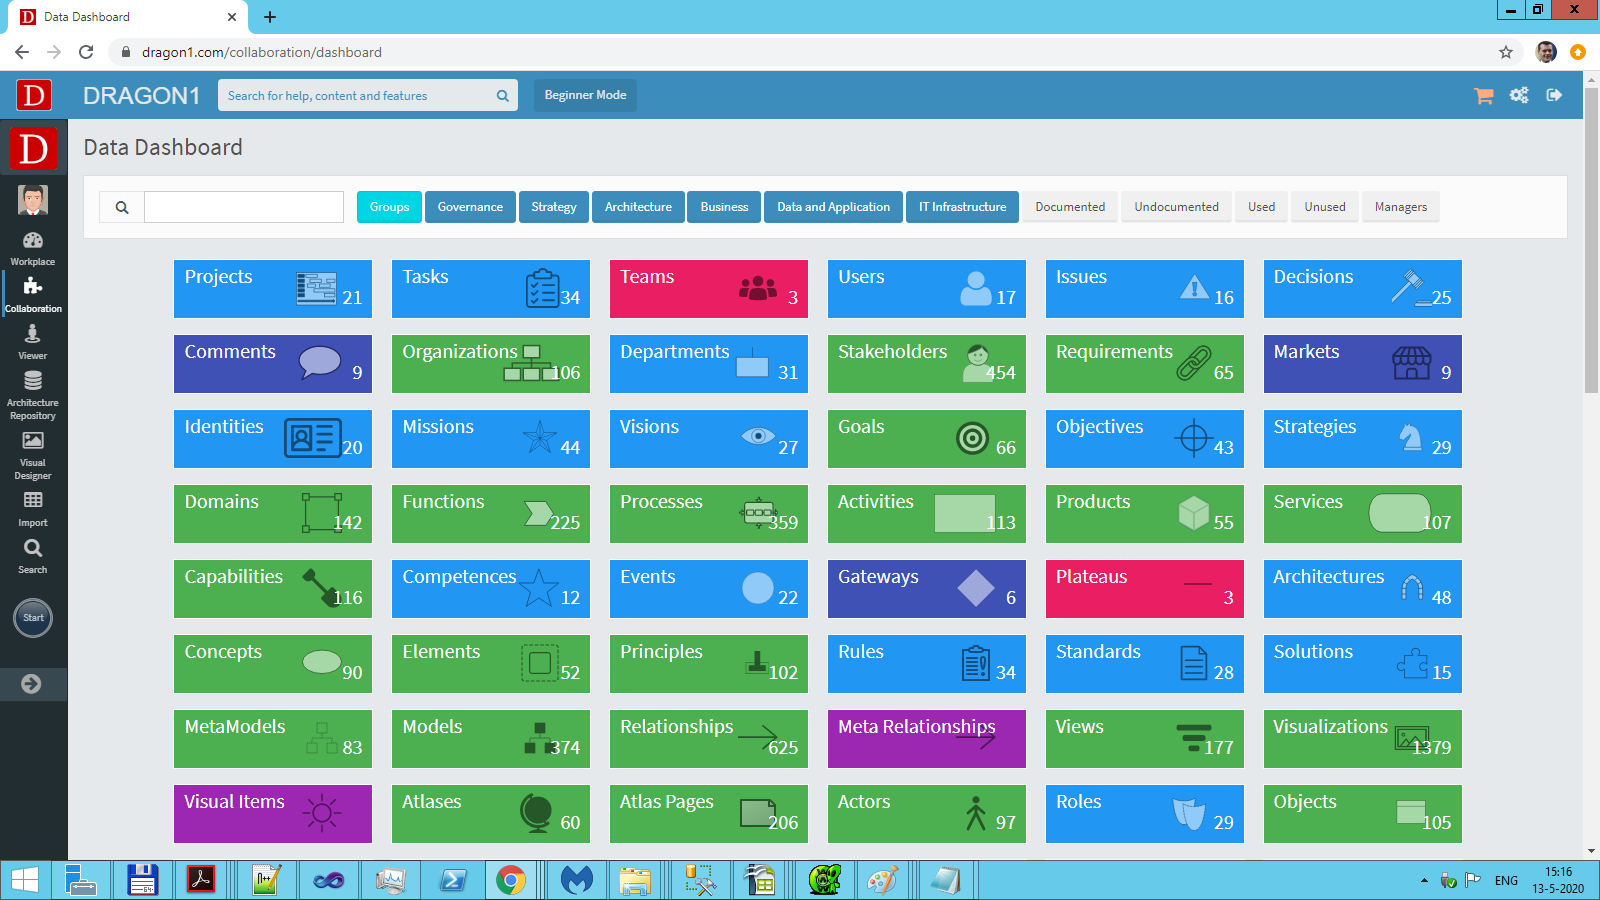
- Click on View
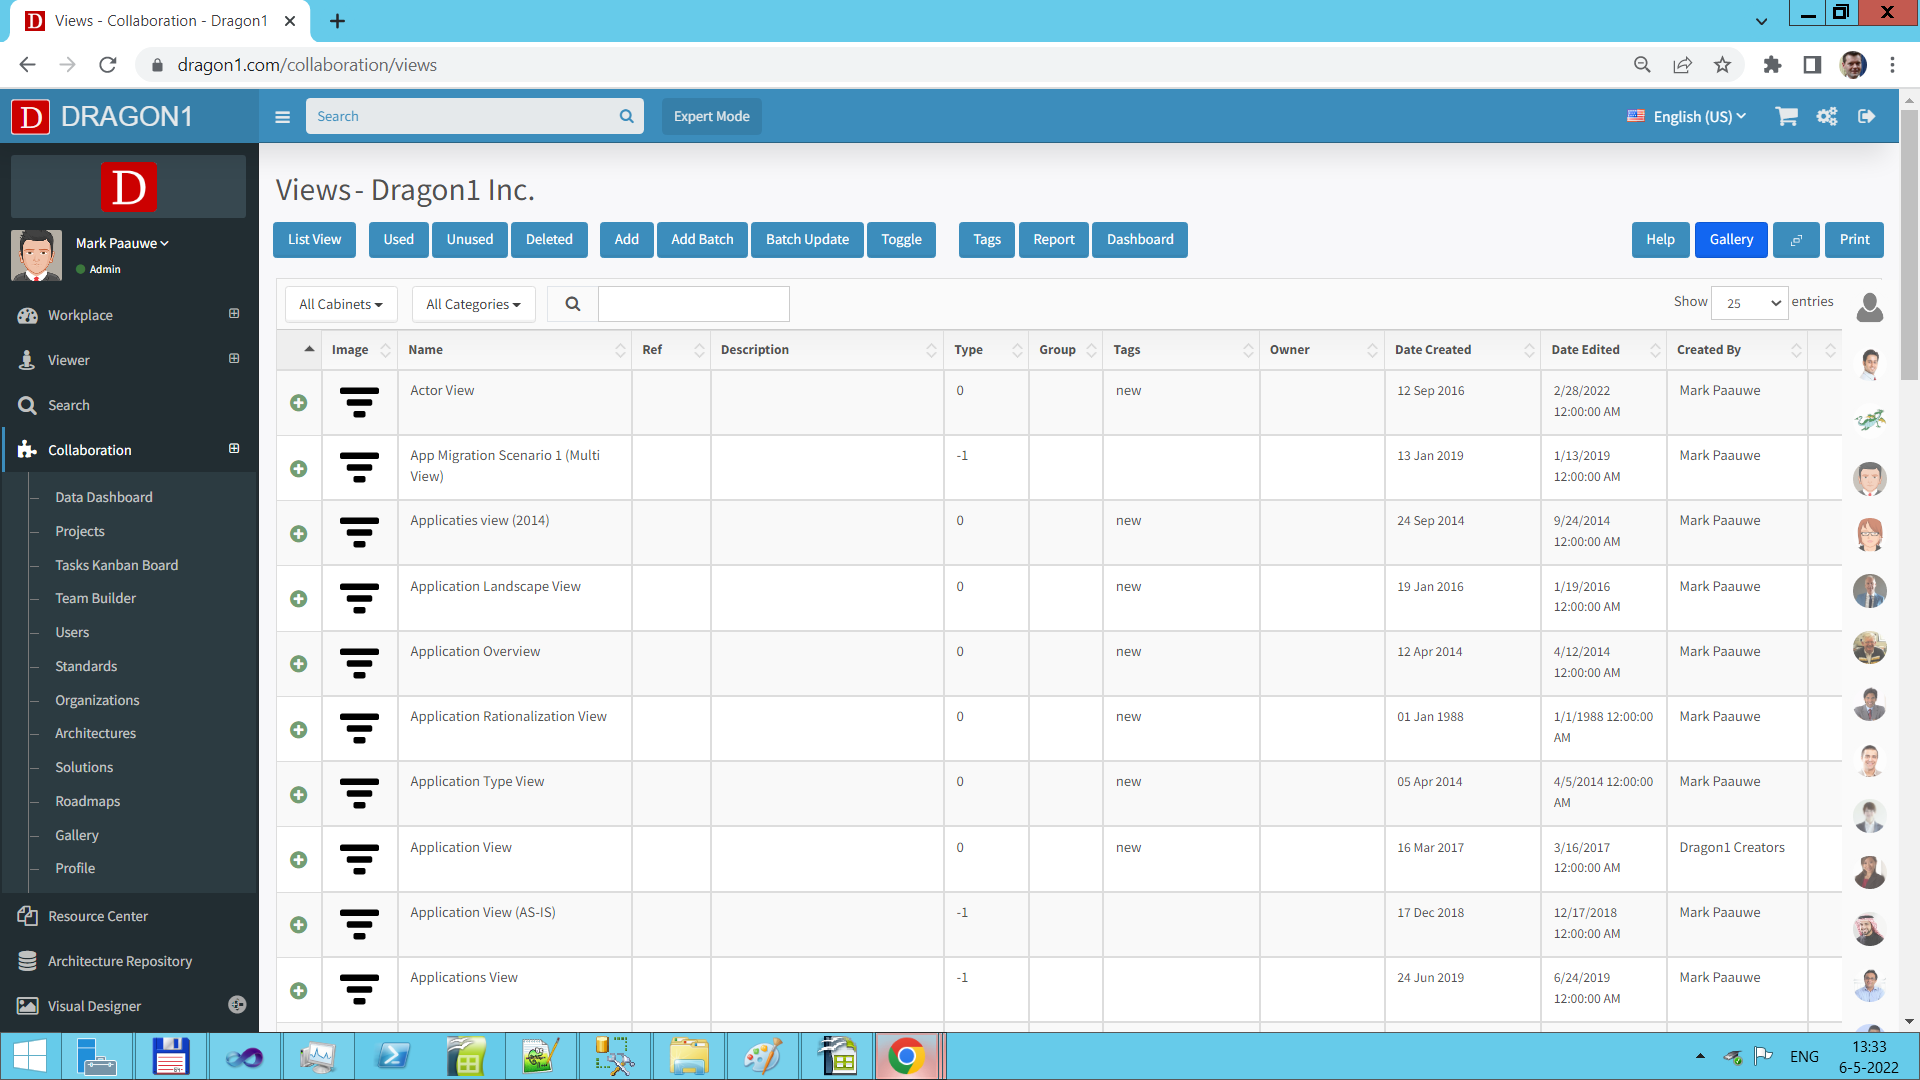
- Click on Add View in the top button bar.
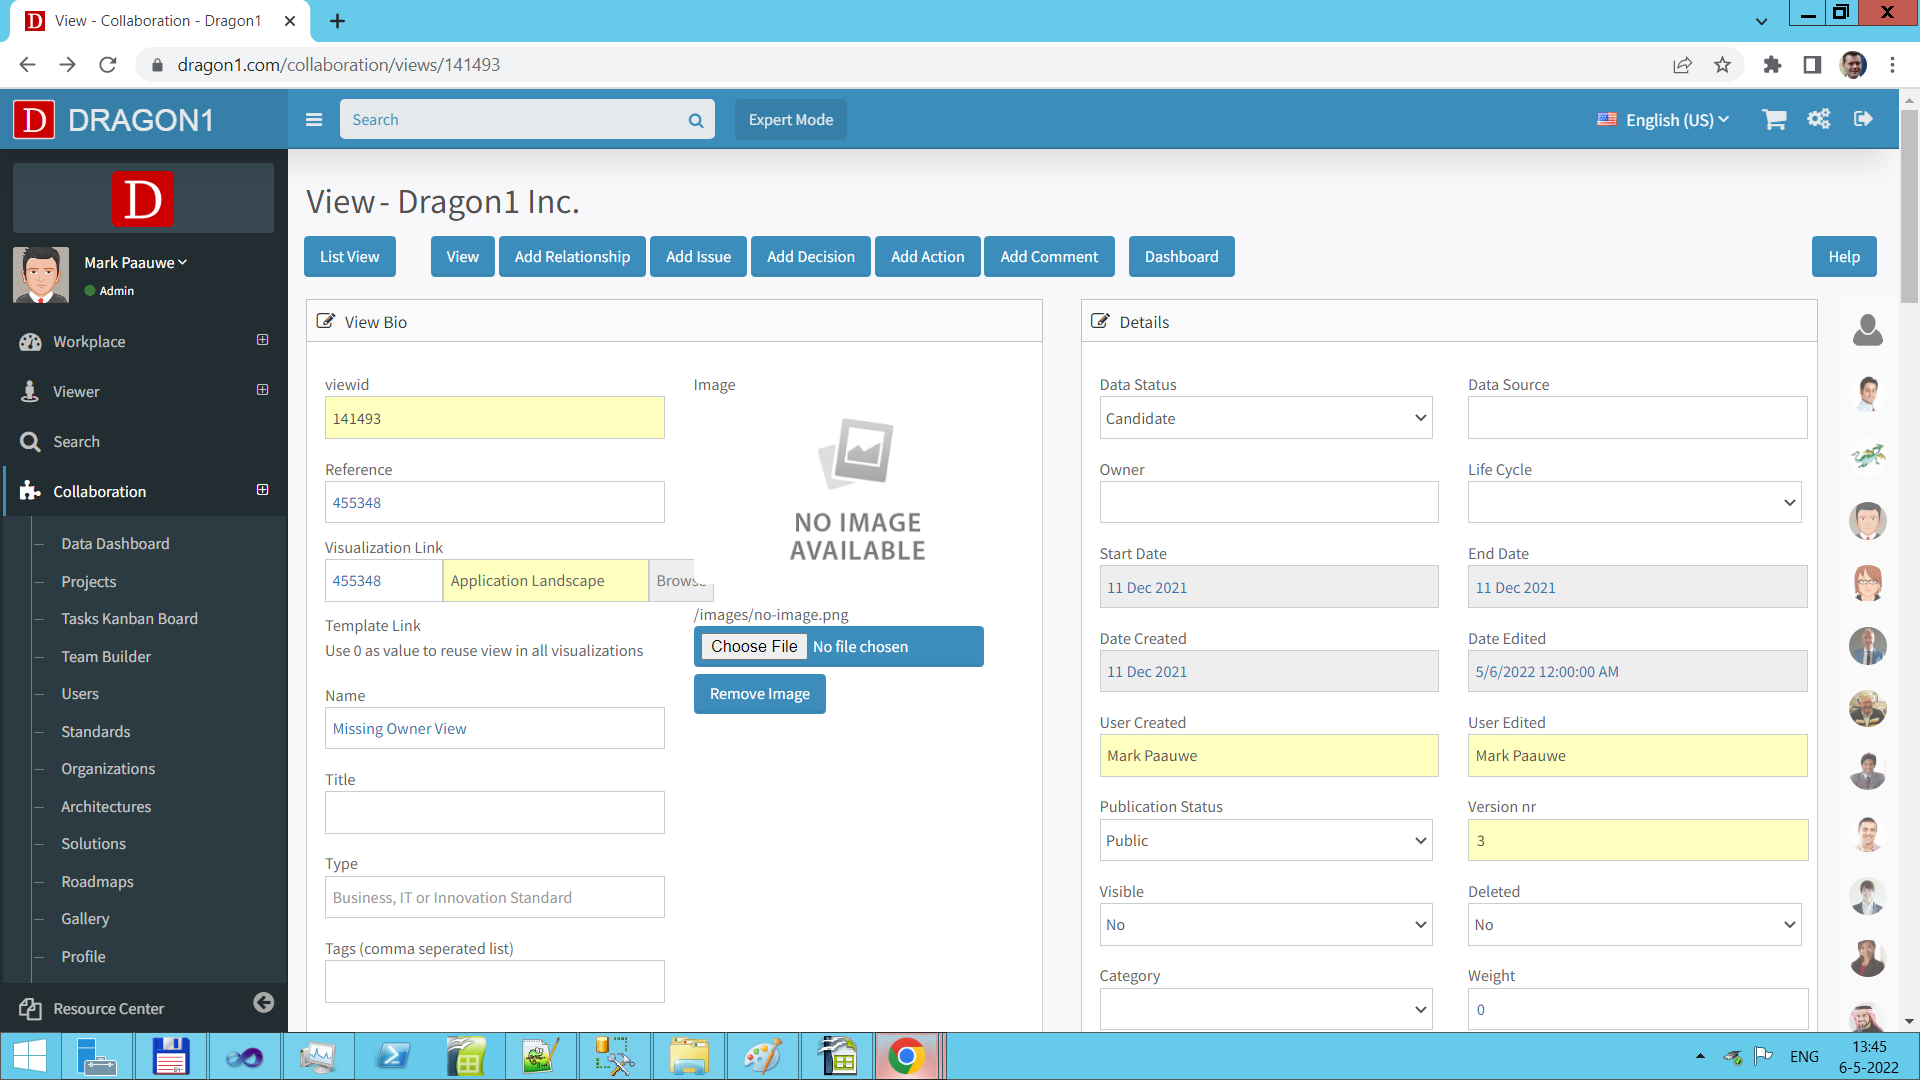
- Enter a name for the view in the name field in the edit screen.
- Link the view to a visualization in the edit screen.
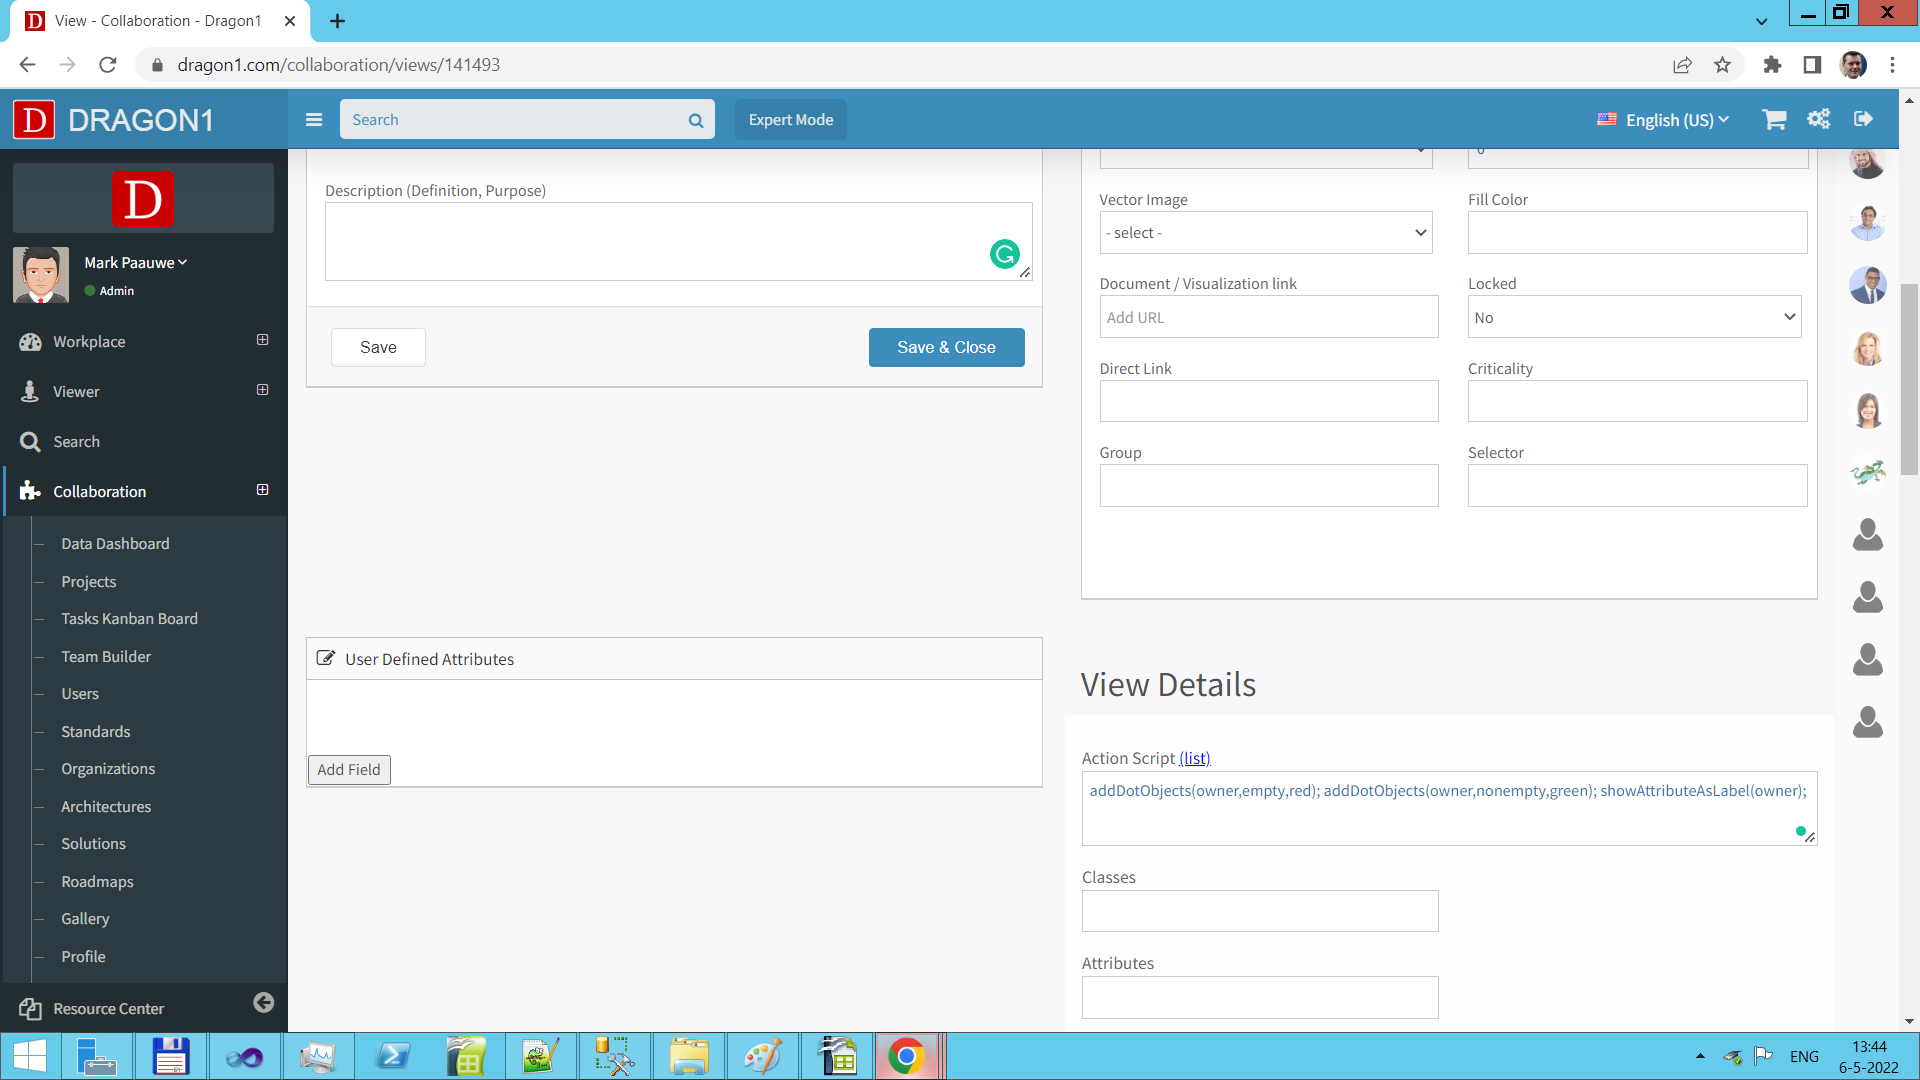
- Enter an action script for the view in the action script field. Read the next paragraph for more info.
- Click on Save.
In the example, we used the following ActionScript:
- addDotObjects(owner,nonempty,green);addDotObjects(owner,empty,red); showAttributeAsLabel(owner);
Clicking on this view will result in objects without a value for the owner tag getting a red dot, objects with a value getting a green dot, and a yellow box with the owner's name.
Attributes for the Views
- type: default - This configures a view as a default view for the visualization upon showing.
Action Script for the Views
On this page, you can learn more about action script
Below are a few simple action script examples to use:
- colorizeTags(cloud, cyan);
- colorizeObjects(implemented, Not, green);
- addDotObjects(owner,empty,red);
- addDotTags(unknown, orange);
- addImageBefore(tags,onpremise, danger);
- showAttributeAsLabel(owner);
- toggleRoutingOrthogonal();
- showContextRels();
- toggleArea(Projects);
- showAll();
- showRelatedObjects(classname, classid);
- findShowSolutions(outdated,boxin,blue);
You can put a series of 10 functions into an action script field, separated by a semicolon.
In any atlas of visualization with a view, you can check the action script of the view by clicking on the Edit button in the row of the view list.
Watch and Test the View in the Viewer
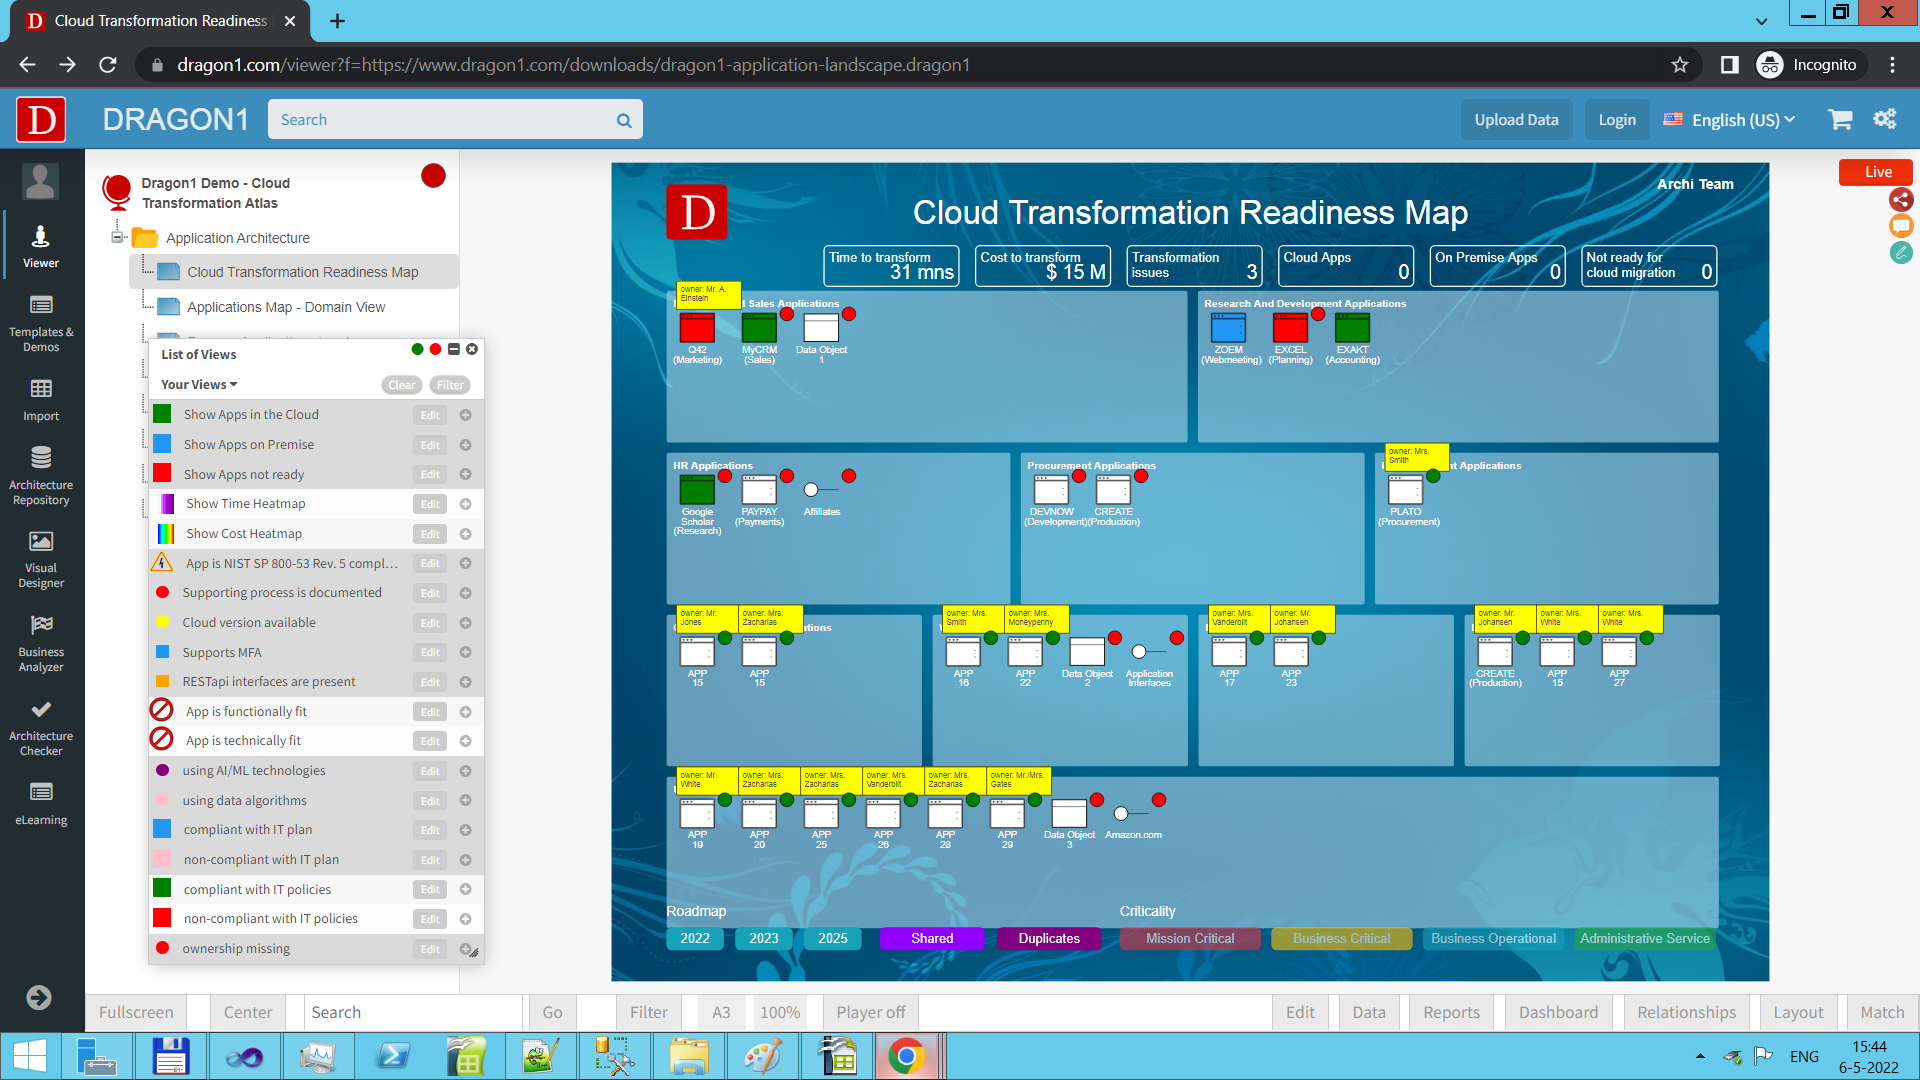
To see the view in action:
- Go to the Viewer
- Select the Atlas with the Visualization that is linked to the View
- Select the Visualization
- Click on the view
Alternatively, you can search for views in the Viewer or search for views in the Search application.
The result will be a link to the views, visualizations, and atlases it has found.
The better you 'tag' a view, the easier it can be found again.
How to Create a View in the Architecture Repository application?
- Log in
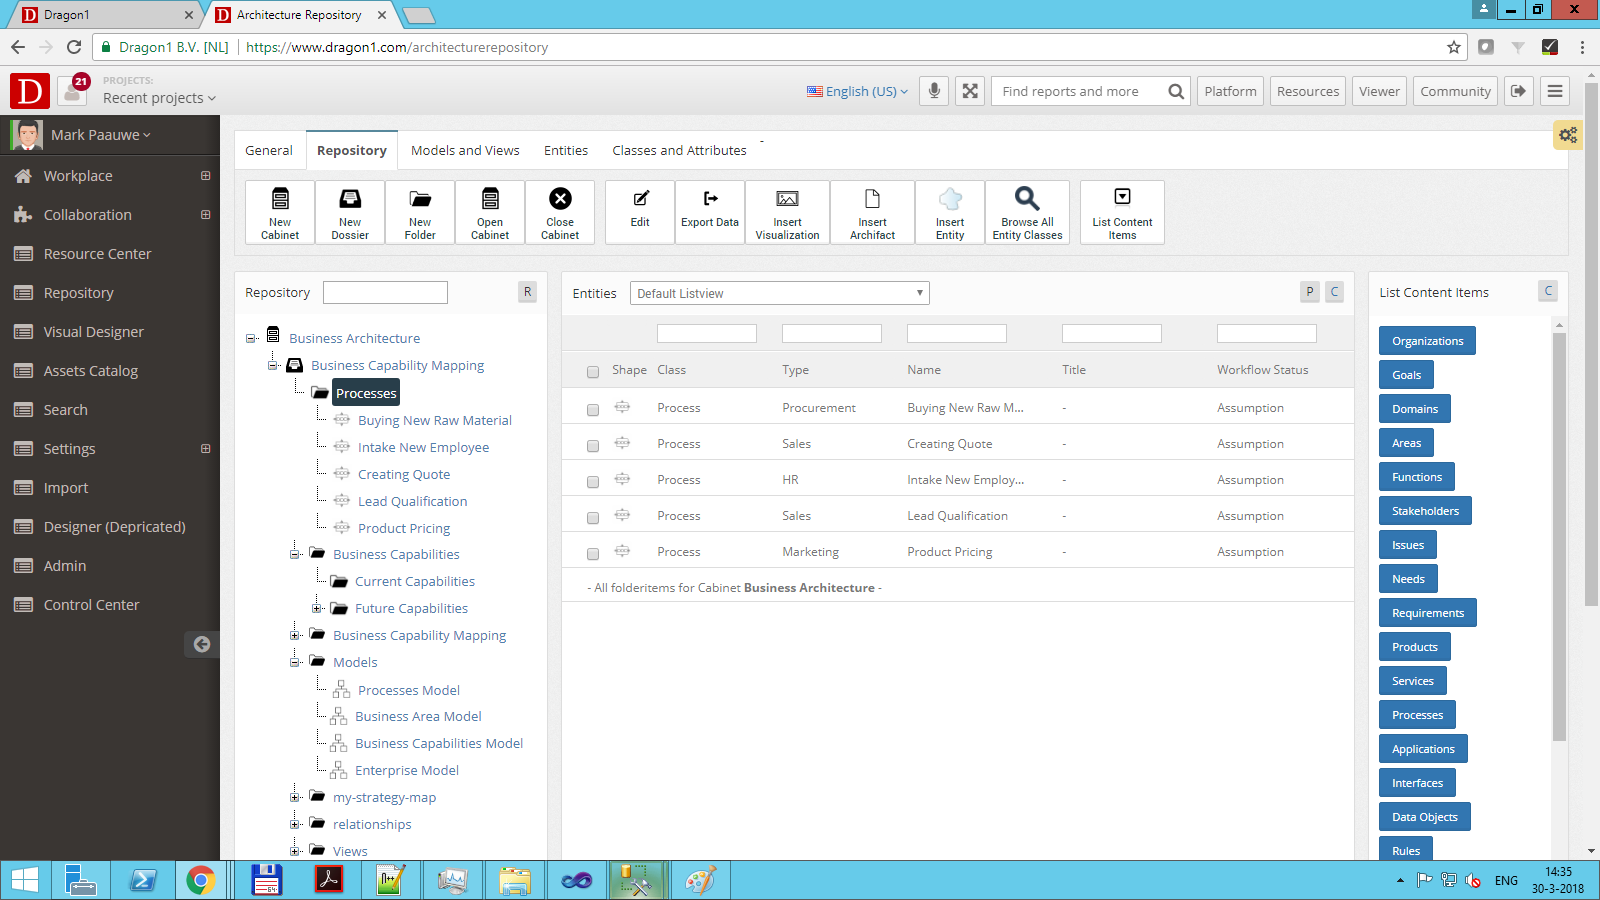
- Go to the Architecture Repository
- Open a Cabinet
- Select a folder
- Insert a View from the Menu
- Give a name for the view
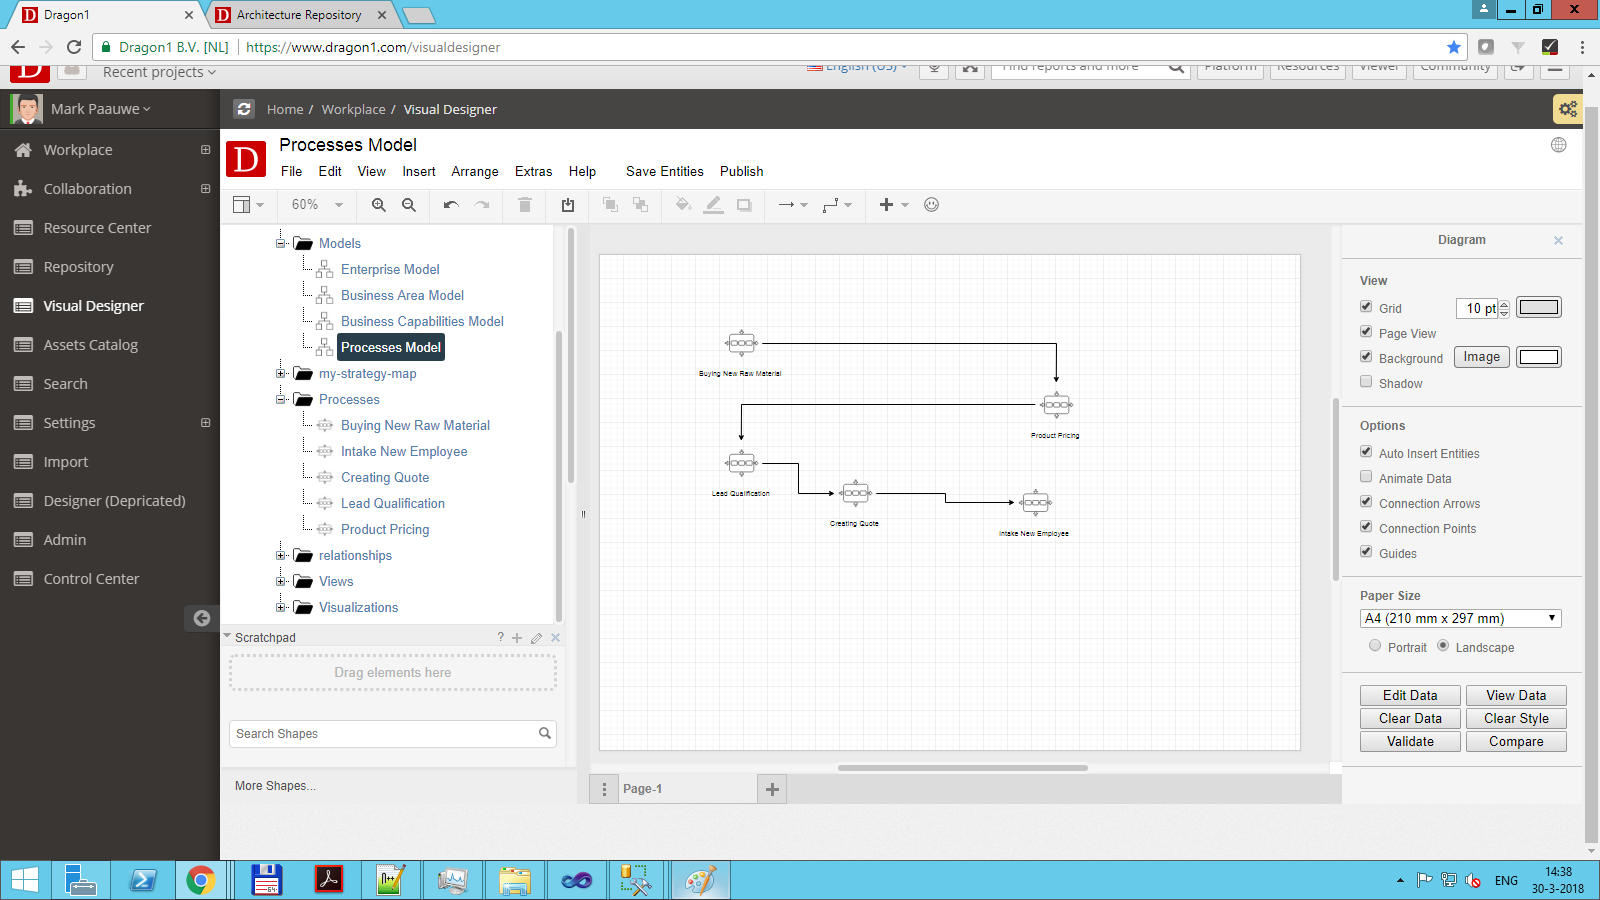
- Go to the Visual Designer
- Open a Cabinet
- Select the newly created View
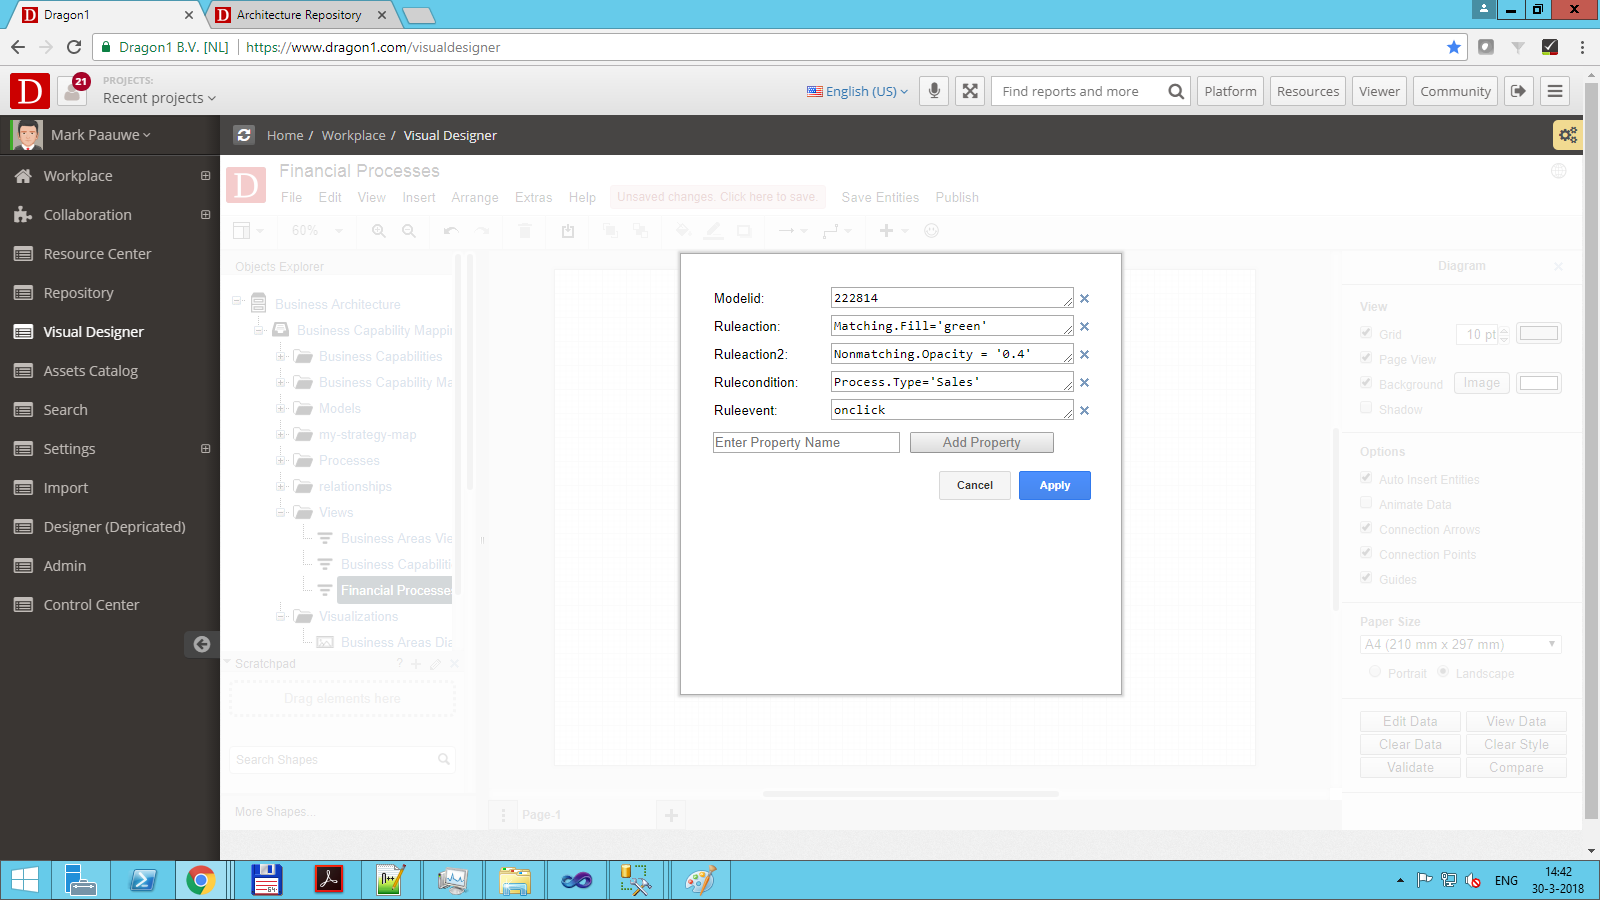
- Click 'Edit' on the menu bar, and choose 'Edit Data' (CTRL + M).
- Enter the modelid in the field Modelid as a variable and the modelid you want to link to this view.
- In the field Ruleevent enter the value " onclick ".
- In the field Rulecondition enter the value " Process.Type='Sales' ".
- In the field Ruleaction enter the value " fill='green' ".
- In the field Ruleaction2 enter the value " opacitynonmatching=0.4 ".
- Click on the "Apply" button
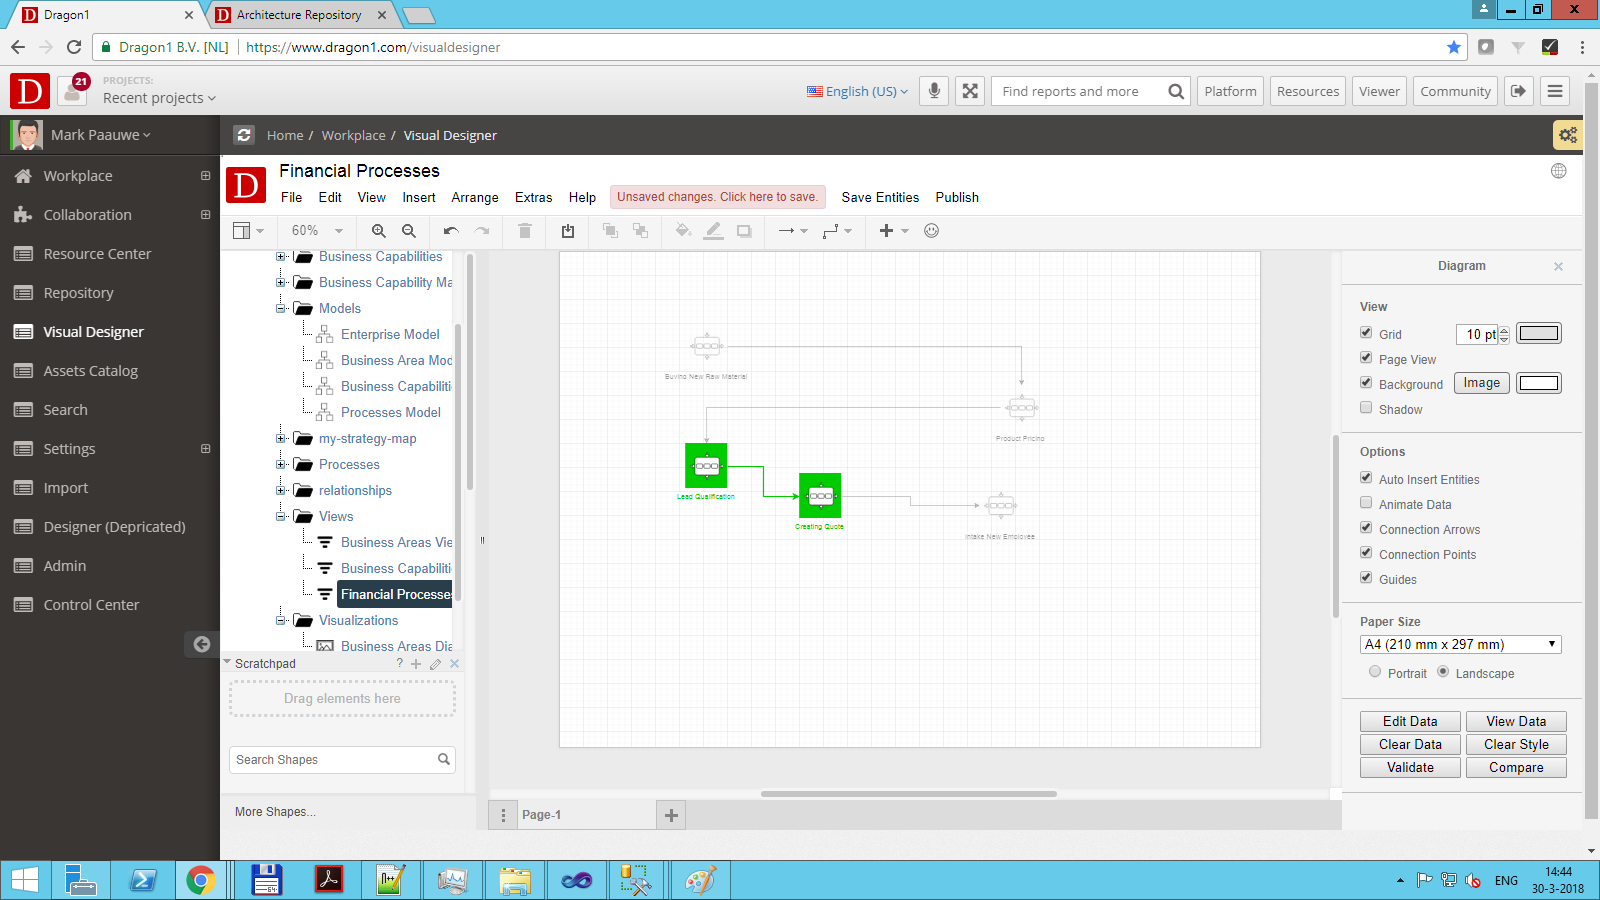
The Process Model in the newly created view will light up.


