Dynamic Views - Scenario 9: List View
Dragon1 supports creating a list of items on a visualization.
Here we will present a basic scenario, where you enter ten stakeholders and their photos and list them on a visualization
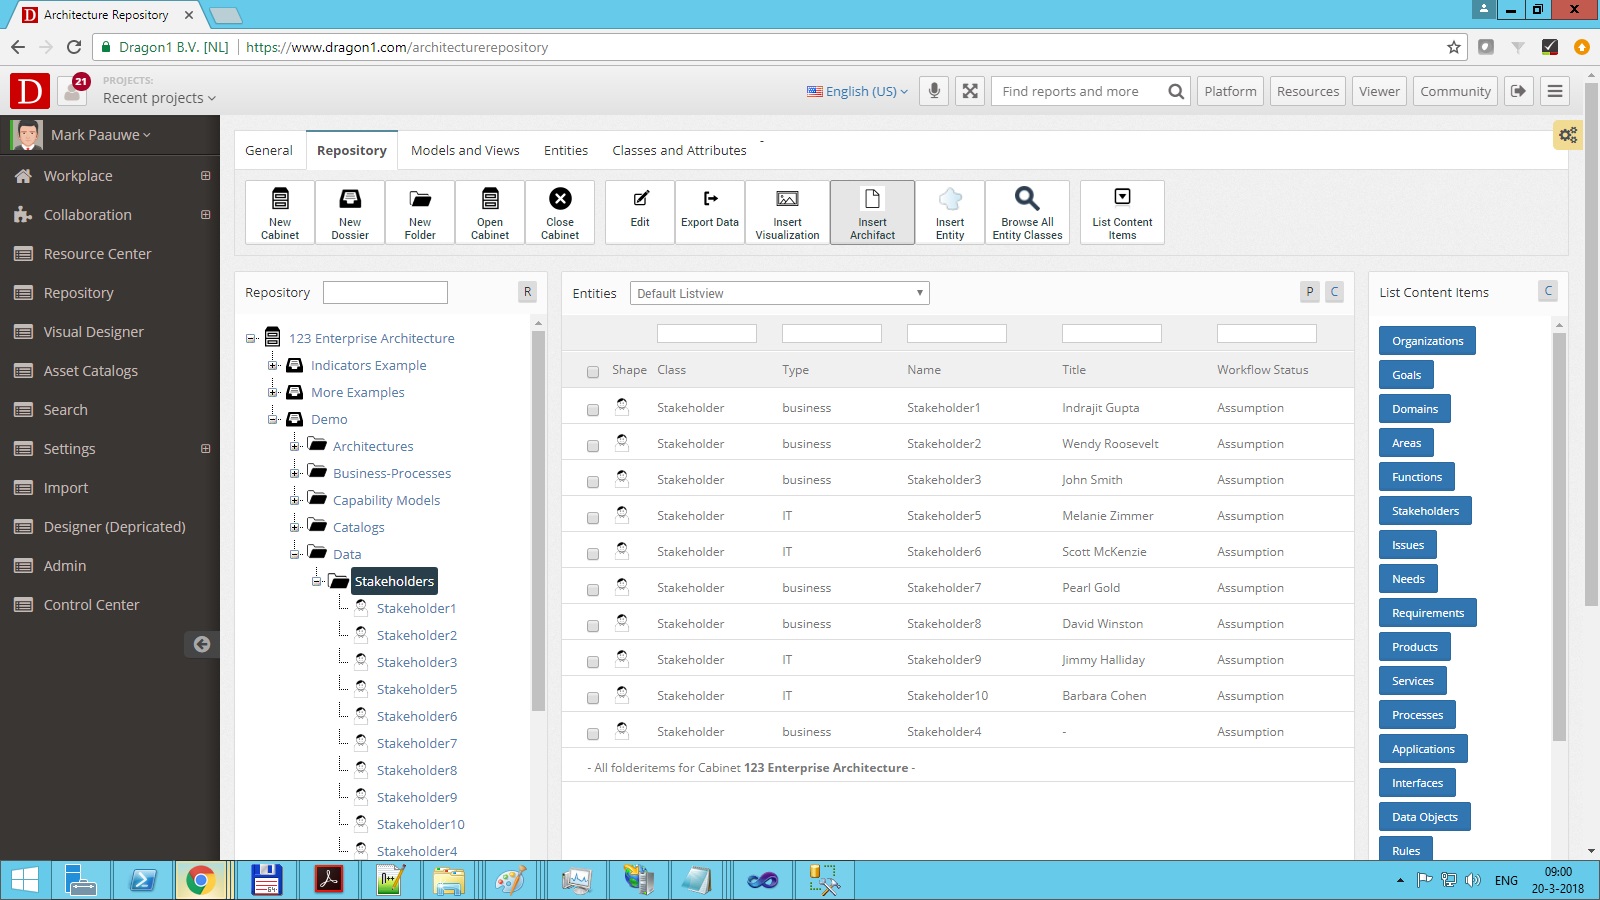
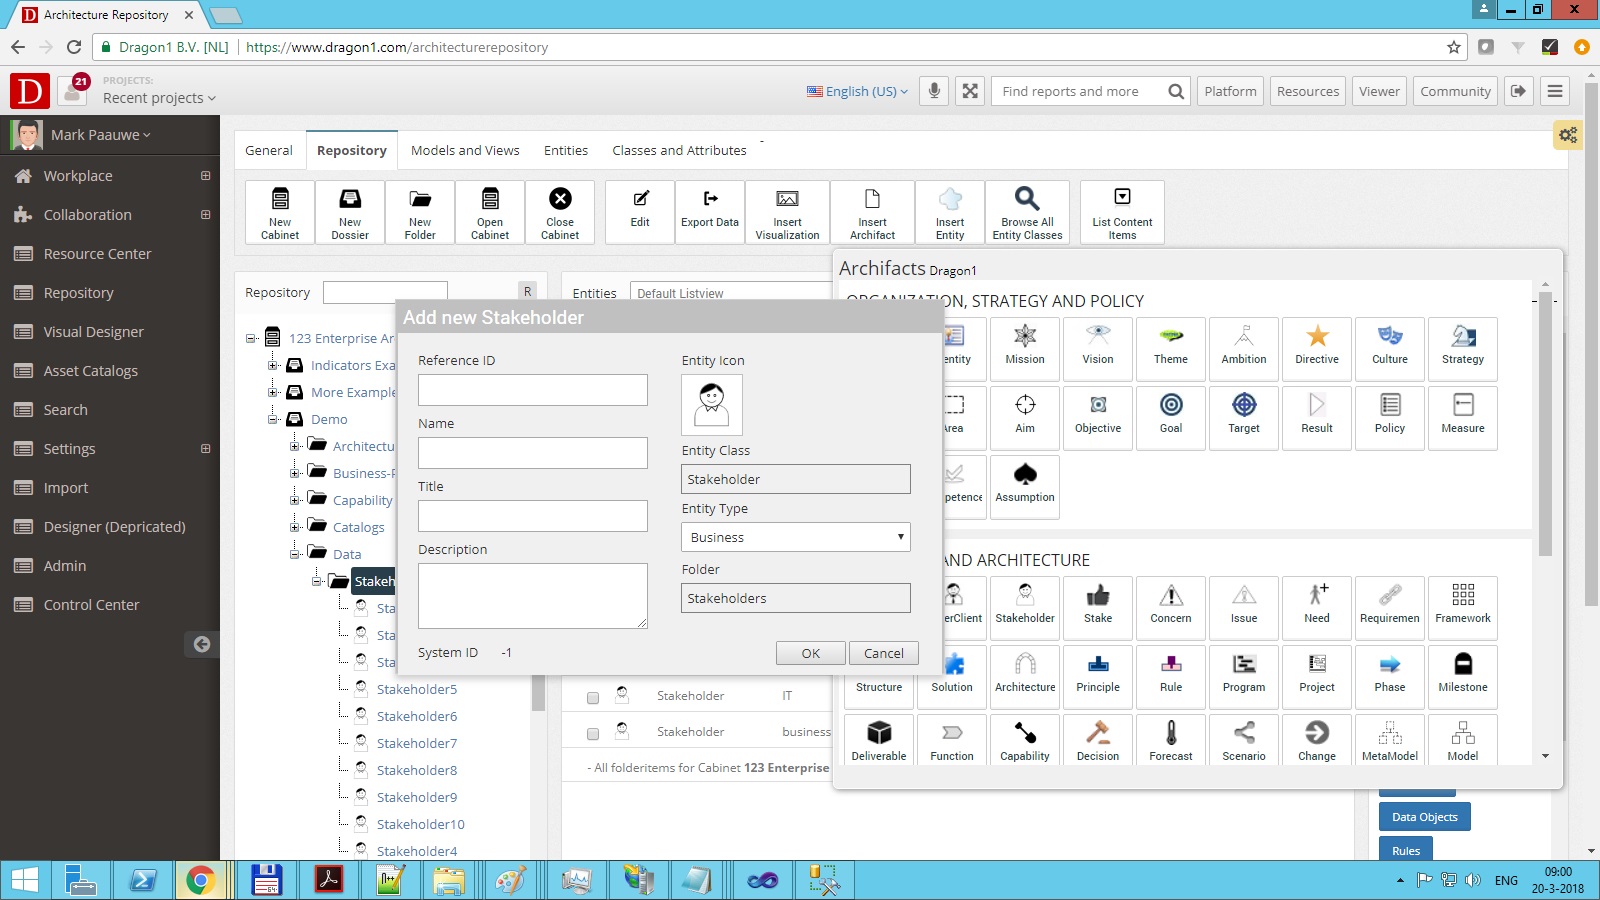
Step 1: Enter the data in the Architecture Repository
You either upload a list of data via the Import web application or you enter some data manually.
Make sure you place the basic data for a stakeholder in the same folder or create a model or catalog with it.
Step 2: Setup a Visualization
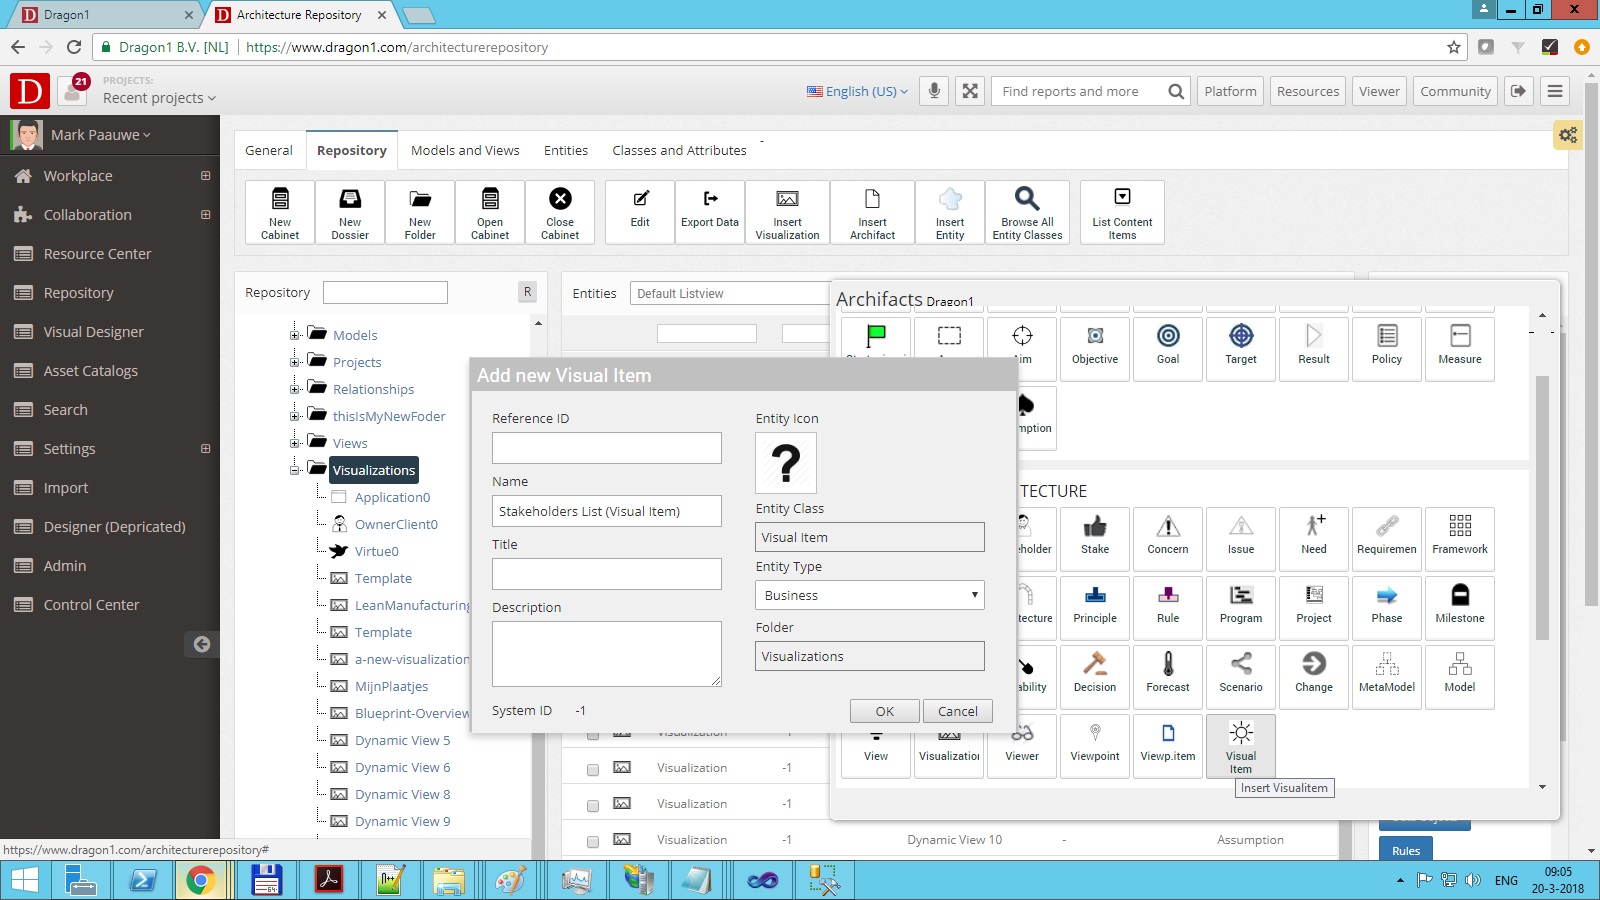
Create a visualization in a folder and insert a Visual Item in the Architecture Repository. Next, go to the Visual Designer and select the visualization.
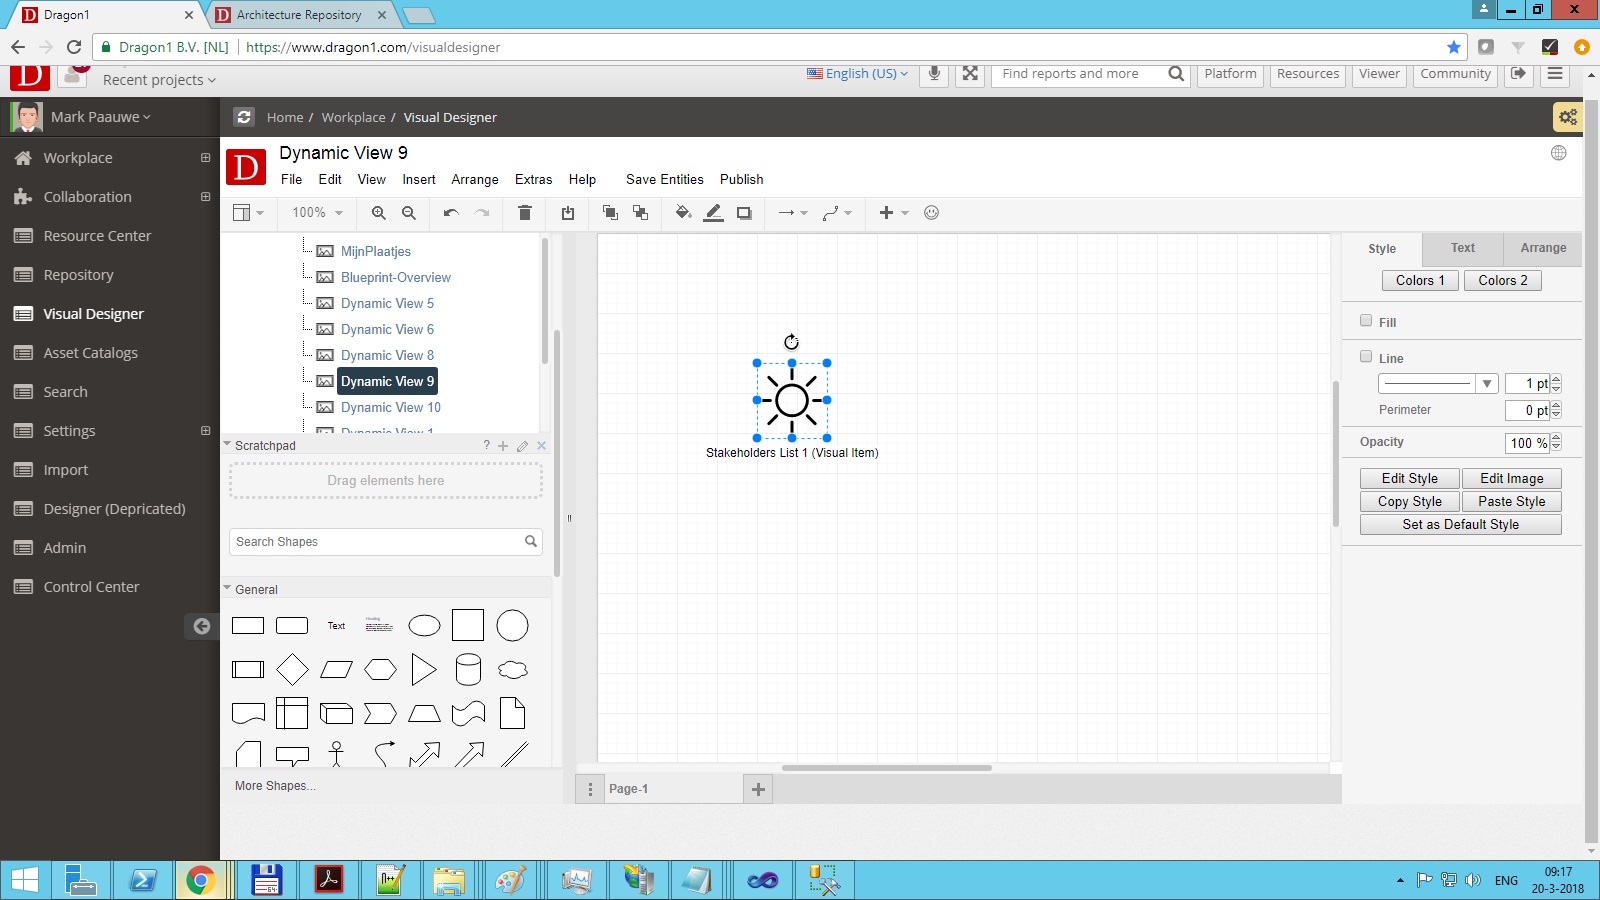
Next, insert a Visual Item (the sun shape) and insert the Visual Item from the folder on the canvas. Save the Visualization.
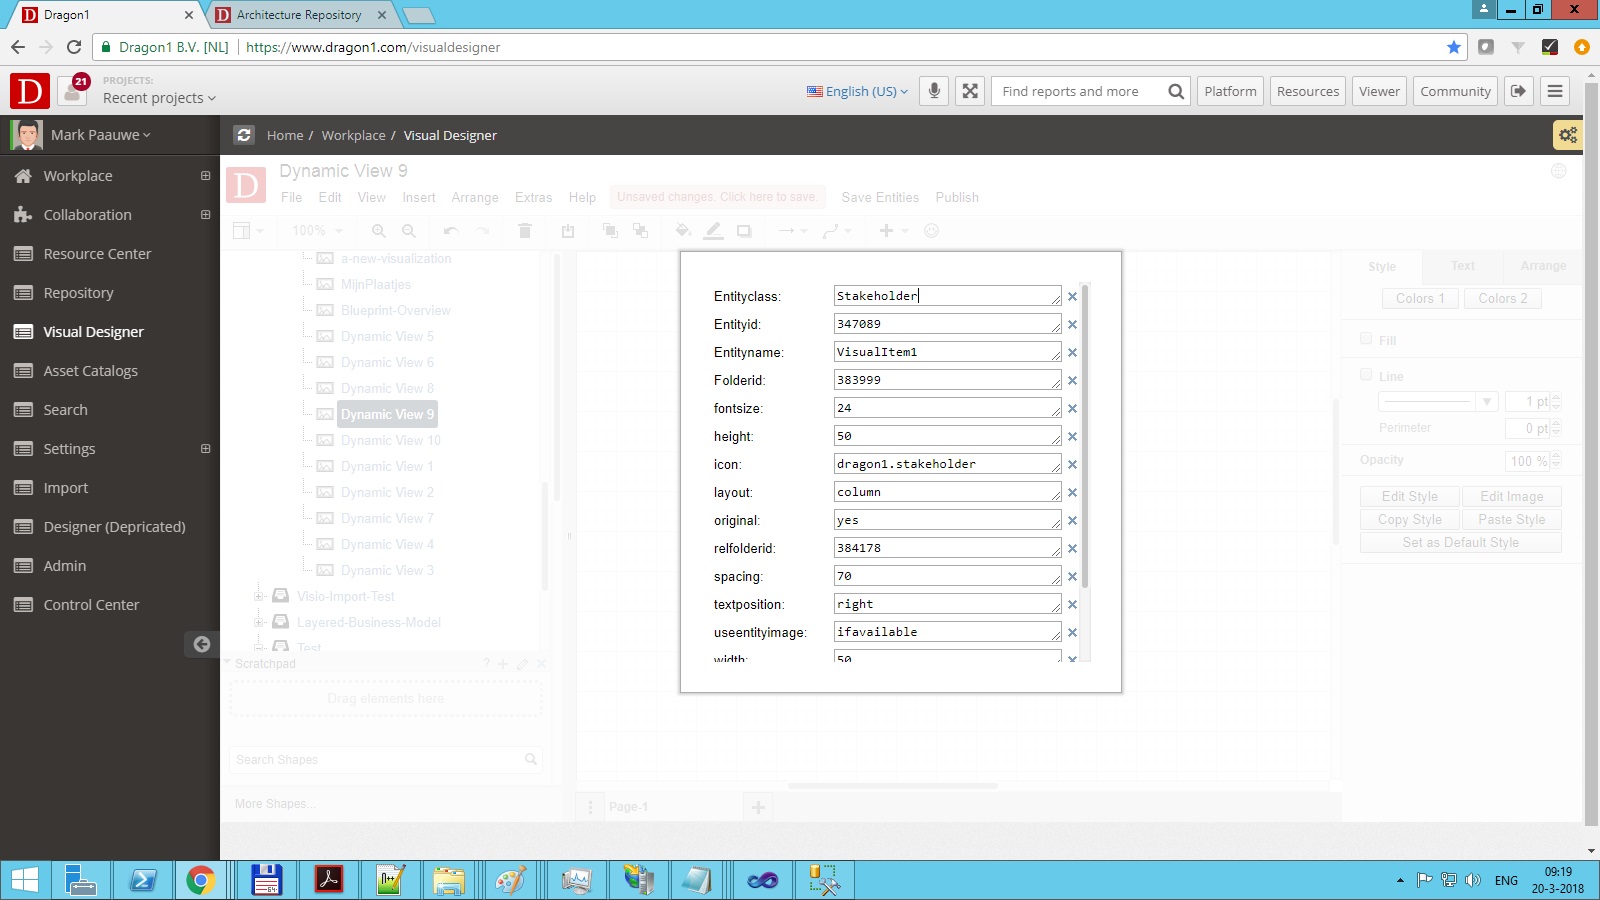
Do a right mouse click and add the following data as shown in the screenshot below. You are now instructing the Visual Item on where to find the data for the stakeholders and how to generate it for the visualization.
Step 3: Generate the Visualization
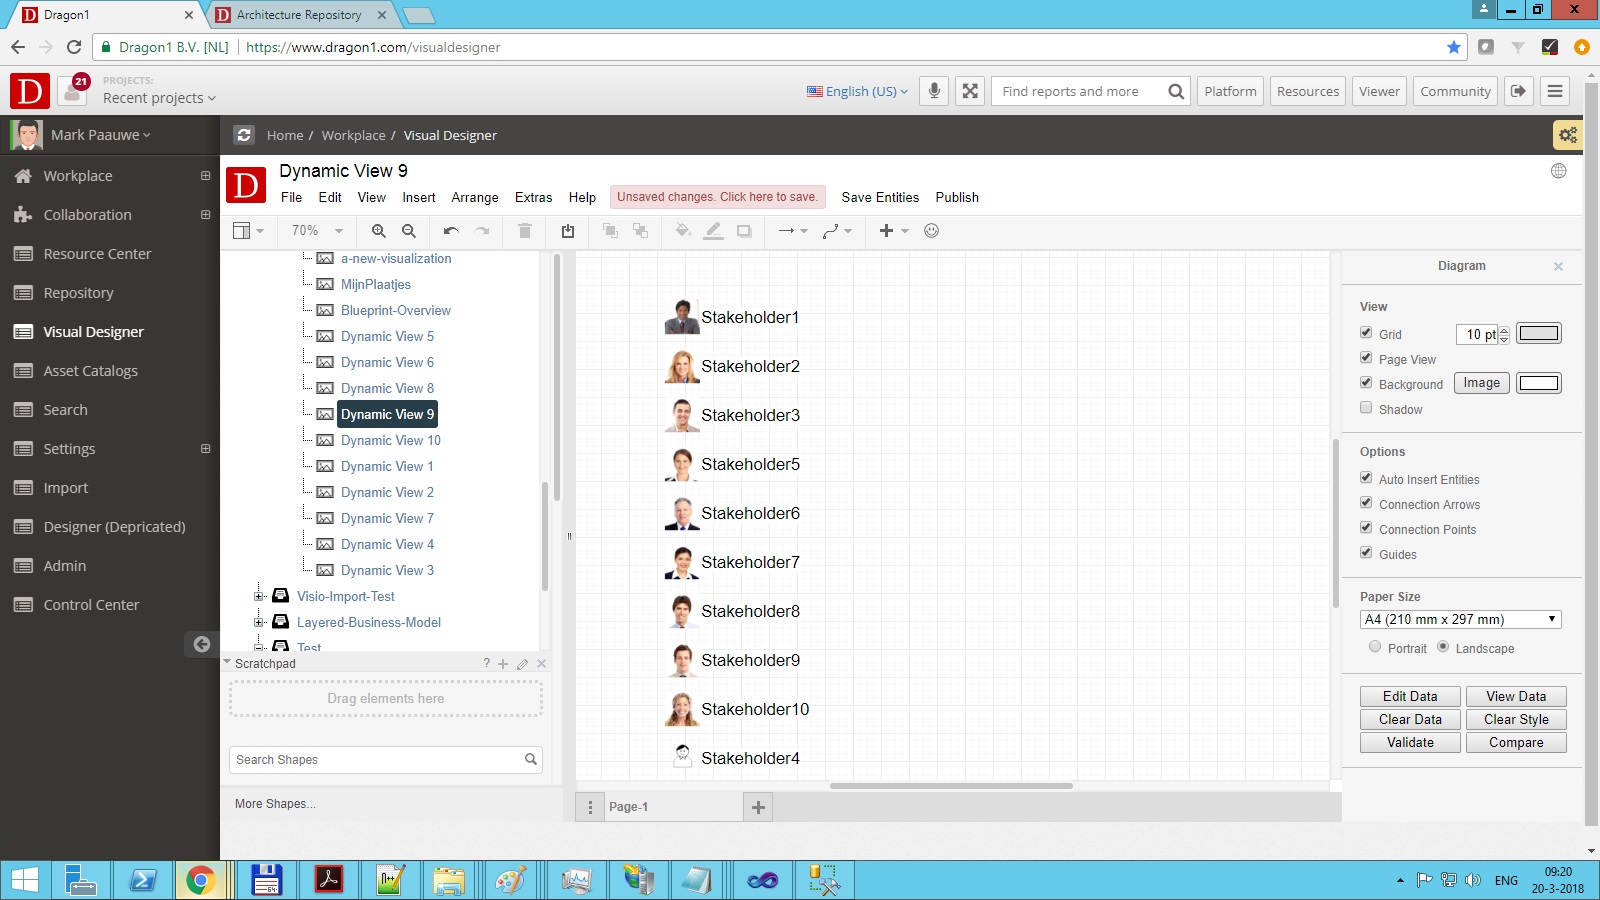
If you select the visualization in the folder and click on View Data, you will see the list of stakeholders being generated.
Step 4: Using the Items as Selectors
You can use this list in many ways, for instance, as a selector for views and visualizations.
If you administer ten pictures, catalogs, models, views, or visualizations just by clicking on a stakeholder, you can have it viewed.
First, enter ten domains, products, and processes, and give them pictures in the architecture repository.
Next, create relationships in the architecture repository between the stakeholders, products, and processes via the domain.
Next, add a Visual Item on the visualization for domains and set it up as shown below.
Finally, add the following to the Data Attributes of the stakeholder visual item as shown below so that on a click, the domain that belongs to the stakeholder is made visible.


