How to Create an IT Infrastructure Blueprint
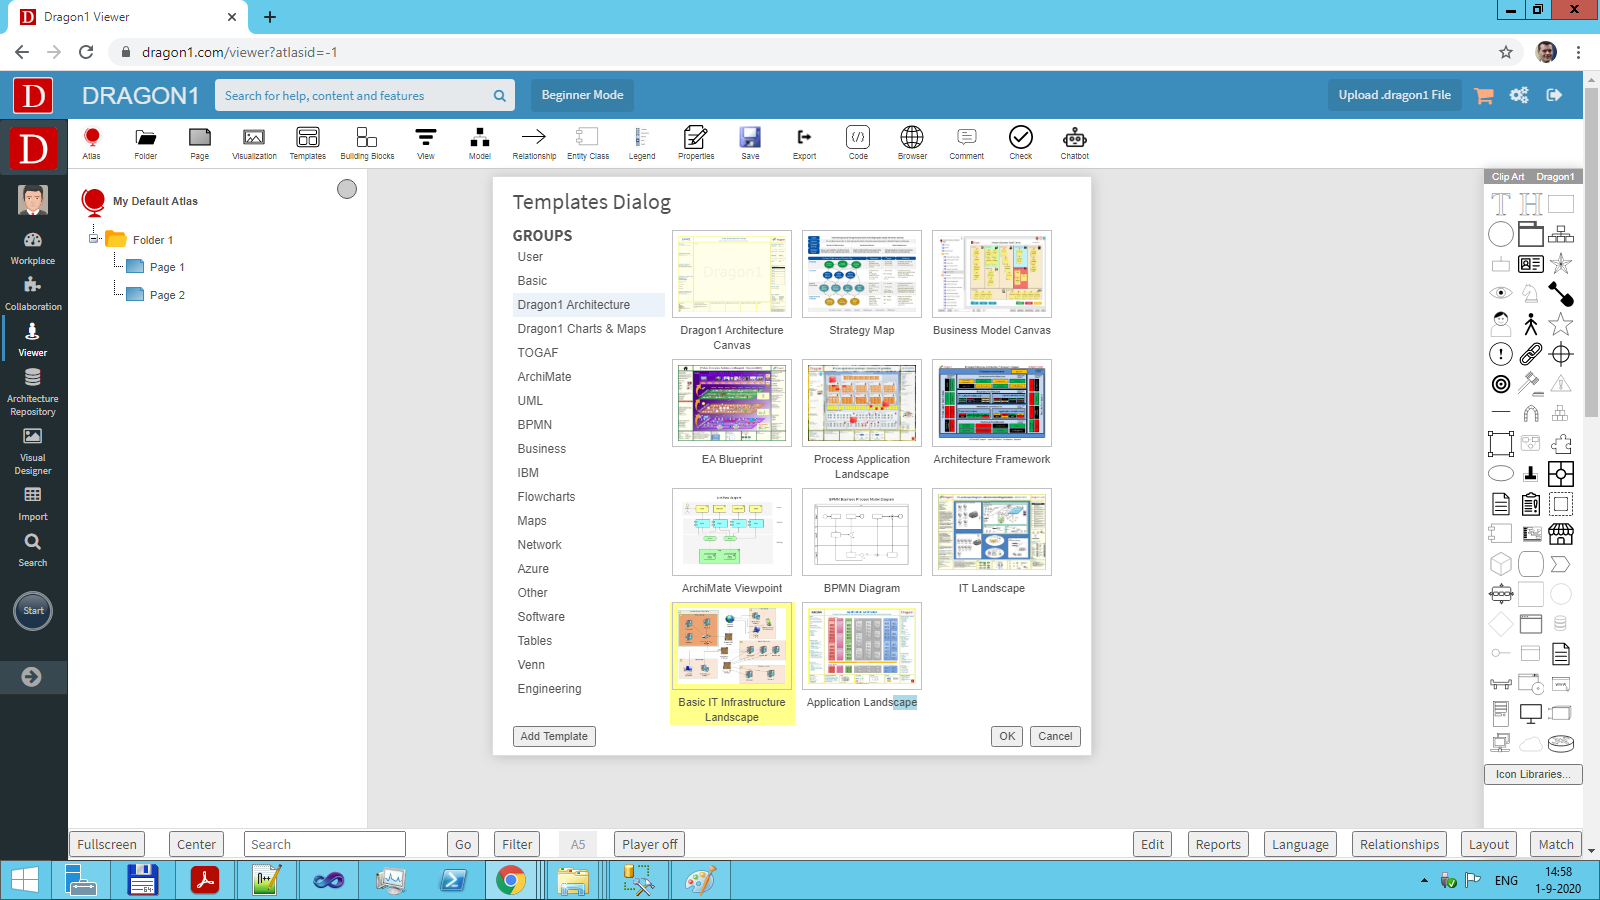
With this tutorial, you can create an IT Infrastructure Blueprint with 14 button clicks. Next, adjust the template to your situation. You can create building blocks for your IT Infrastructure and build up your IT Infrastructure diagram.
What is an IT Infrastructure Blueprint?
IT infrastructure is a coherent set of hardware, software, networks, storage, and computing facilities (including all information technology-related equipment) used to develop, test, deliver, monitor, control, or support IT services. Associated people, processes, and documentation are very relevant but not considered part of the IT Infrastructure.
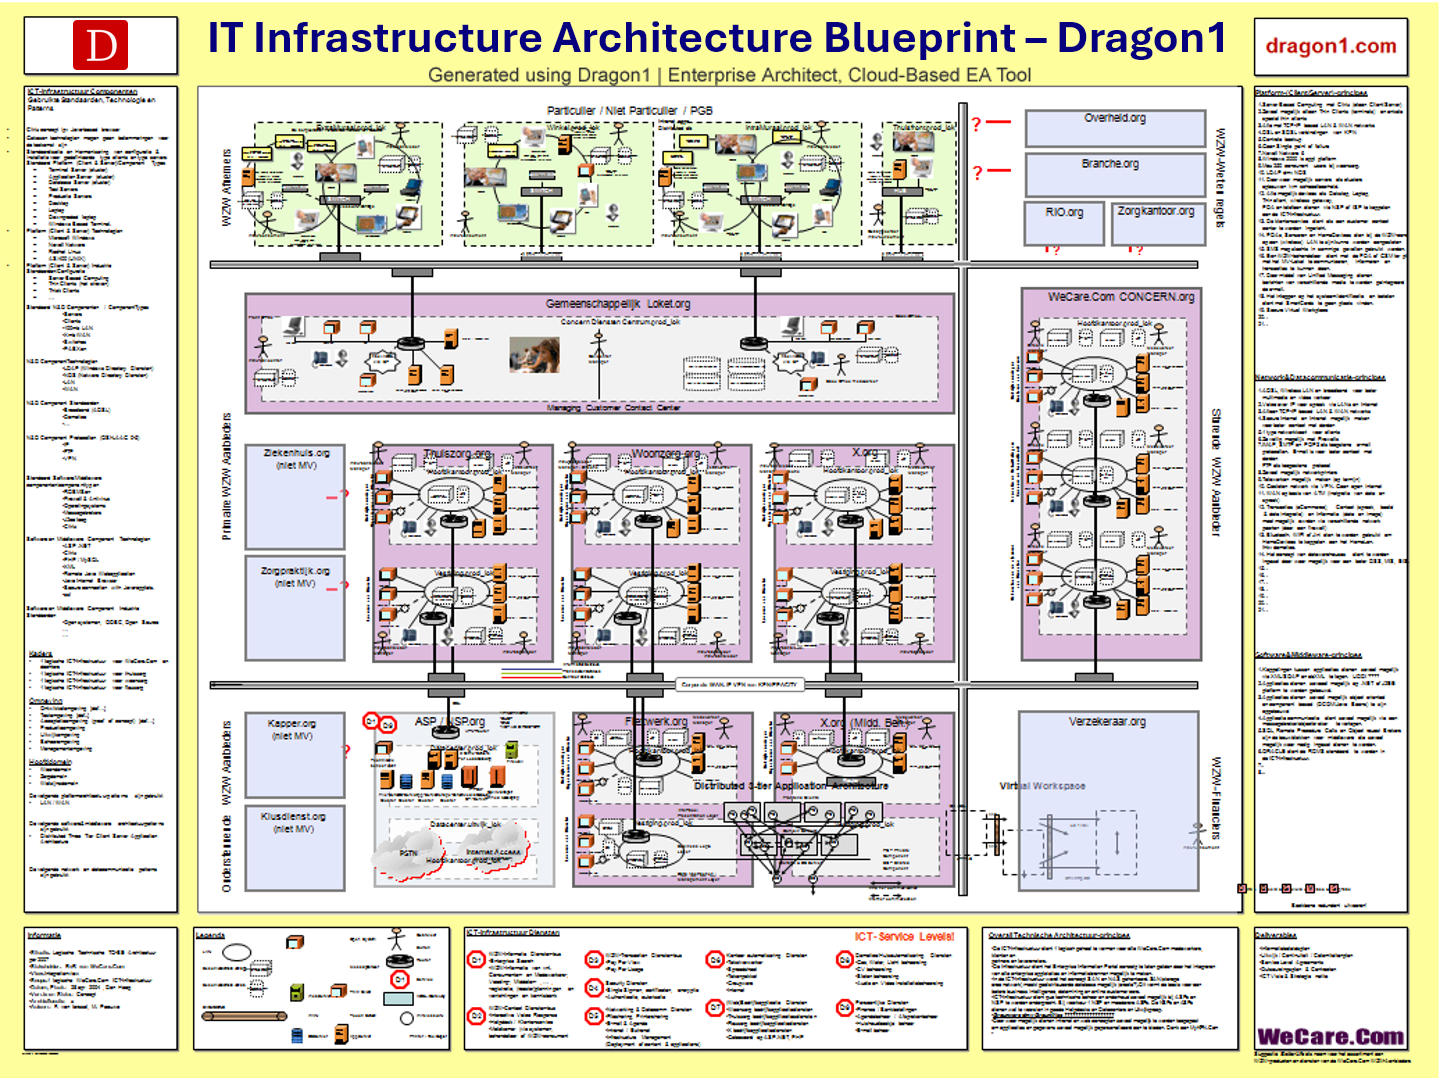
An IT Infrastructure Blueprint is a detailed architecture drawing, mainly at conceptual and logical levels, showing the capabilities, concepts, principles, structure, and workings of the IT Infrastructure in an organization.
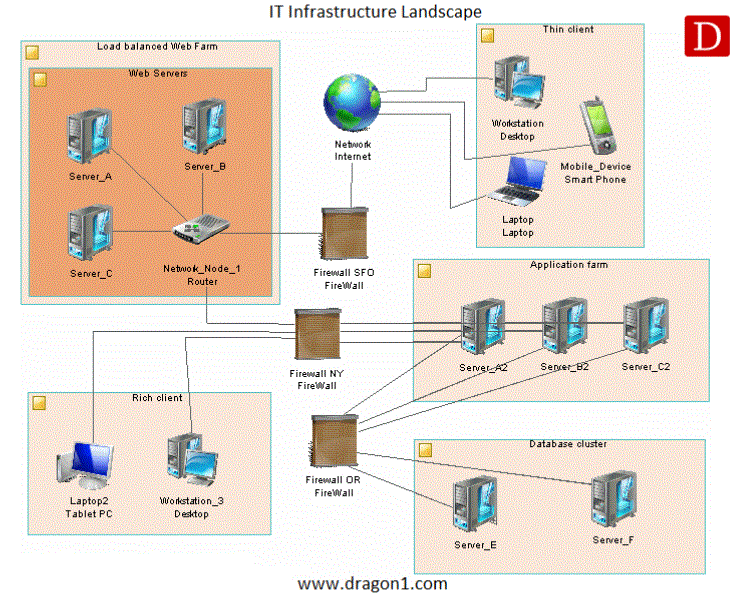
In contrast, we identify the IT Landscape as a high-level overview of the IT Infrastructure.
In more detail, an IT Infrastructure blueprint is a visualization of the standards, types, versions, and vendors of an organization's accepted, implemented, and available IT Assets.
IT Assets are the set of computer software and hardware, plus 'connected' things, arranged in a specific configuration that serves as the current or future infrastructure to support the business operation of an organization, preferably in an optimal way.
An IT Infrastructure Blueprint presents a technical rather than a functional view of IT. Sometimes, the organization's key information systems and most important applications are on the blueprint. But that is not always the case.
Dragon1 supports you in adding management views that provide extra information. Examples are: incidents view, conflicts view, business continuity view, compliance view, migration view, impact of change view, and maturity view.
Managing with IT Infrastructure Blueprints
What are the main reasons to create an IT Infra blueprint?
- Documenting IT infrastructure - report with diagrams that are [not] documented yet.
- IT Cost Reduction - Visualize where and how you can save the budget (e.g., with deduplication or replacing legacy.
- Risk Mitigation - Visualize where your risk is and how to reduce it.
- Standardization - visualize what is [not] standardized and the impact of standardization.
- Improving Security - Visualize how secure your IT environment is and how to make it more secure.
Network, Storage and Computing Components
The IT Infrastructure Blueprint template is a framework for informing and educating stakeholders, developing innovative IT environments, or documenting current and future state IT Infra structures.
The template addresses the three pillars or primary components of any IT Infrastructure: 1) Network, 2) Storage, and 3) Computing.
This Dragon1 blueprint template for IT Infrastructure is the perfect solution to help you better understand and communicate about your computer networks. This is an unambiguous and structured way.
On the Dragon1 Platform, the IT Infrastructure Blueprint is available as a template and accessible in the Viewer and the Visual Designer.
IT Infrastructure Overview
Most IT Infrastructures are constructed with the following eight types of components:
- Network Switch - A device that physically connects devices
- Router - A device that routes packets between devices, from IP address to IP address
- Firewall - A security device at the end of a network
- Server - A network computer with many resources. There are many standard types of servers: database server, application server, directory server, web server, and file server
- Physical Plant - This is all the network cabling of your IT Infrastructure. Note: This is always a fragile link in terms of security
- People - Strictly speaking, people are not part of the IT infrastructure, but they are vital in maintaining it
- Data Center (Server Room) - The location where the servers are placed, secured, and protected
- Infrastructure Software - An IT environment cannot run without driver software, computer BIOS software, operating system software, and directory service software
- Domains - An IT infrastructure is typically simplified by dividing it into functional groups. Common groups are Develop, Test, Production, Archive, Storage, Business, Consumer, and Cloud (these domains are visible on the Dragon1 IT Infrastructure Canvas
A cloud can be seen as a scalable IT infrastructure accessed via the Internet.
An IT Infrastructure Blueprint template in the Visual Designer
Supported Frameworks and IT Infrastructure Icons
Dragon1 supports users in creating IT Infrastructure Blueprints using classic, IBM, Azure, AWS icons, and other icon sets.
Dragon1 supports IT modeling at a conceptual, logical, and physical level. Below, you see the most commonly used shapes:
| Object | Shape | Description |
|---|---|---|
| Domain / Architecture Area |  | An abstract object for grouping other objects. |
| Site |  | A physical location. |
| Organization Unit |  | A group, department, function, or other collection of people or organization units |
| Actor |  | A person, an individual. |
| Role |  | A set of responsibilities |
| Network |  | Any kind of connected computers. |
| Software Server |  | A commercial software environment |
| Hardware Server |  | A high availability resource machine |
| Firewall |  | A server protecting the network |
| Workstation |  | A client machine |
| Mobile Device |  | A handheld client |
| Network Node |  | Can represent various kinds of network components |
| Deployment Instance |  | An instance of an object defined elsewhere |
| Infrastructure Link |  | A link between elements in a technology layer diagram |
It is also interesting to read the page of IT Architecture and Technology Architecture in the resources section.
Create your own IT Infrastructure Blueprint in 14 steps. Log in or sign up for a free trial today.


