Using Frames

In a visualization, you can use frames next to layers.
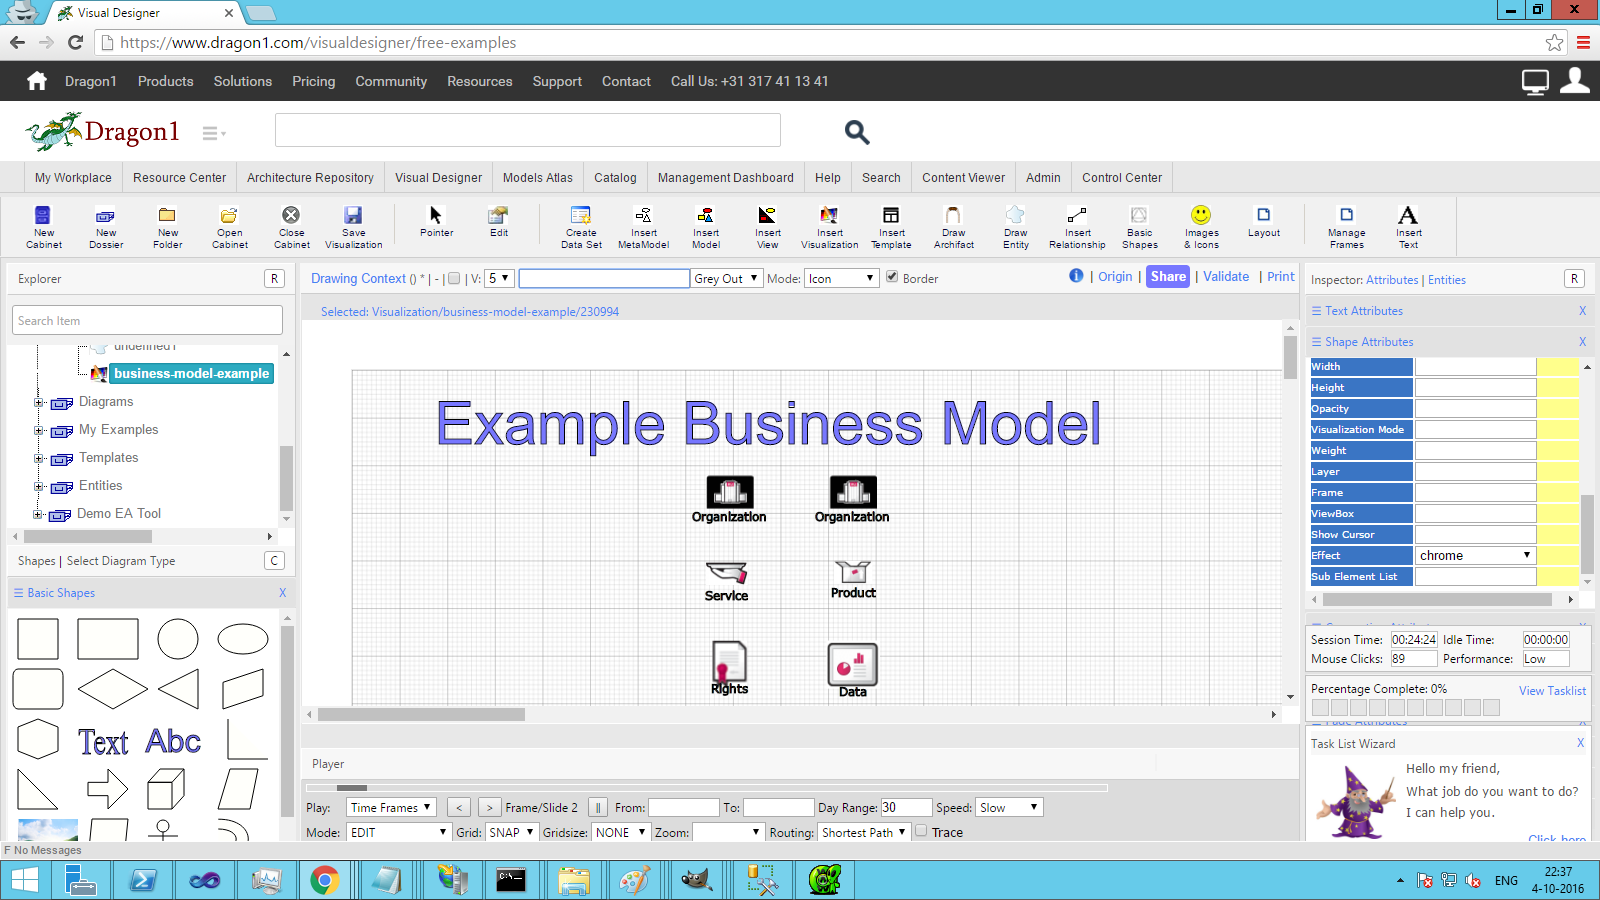
A frame is like a slide in a presentation or a time frame in a movie. A shape can be placed in one, more, or all frames. And you can place as many frames as you like after one another.
You can walk step by step through these frames but also play the frames, meaning Dragon1 automatically shows the next frame at every given moment. The speed is 5 seconds per frame by default, but you can change this anywhere between 0 seconds and 10 seconds.
When you drag or insert shapes on the canvas, automatically, they are assigned (or placed) in the current frame.
All shapes assigned to that frame are hidden or shown if you hide or show a frame.
Frames in this way help you to create and handle more complex visualizations, and you can assign effects to all shapes in a certain frame.
If you remove the assignment of a shape to any frame, it is always shown (visible on every frame.
How to switch a frame on
To switch a frame on or off:
- Select a Visualization in the Explorer Treeview
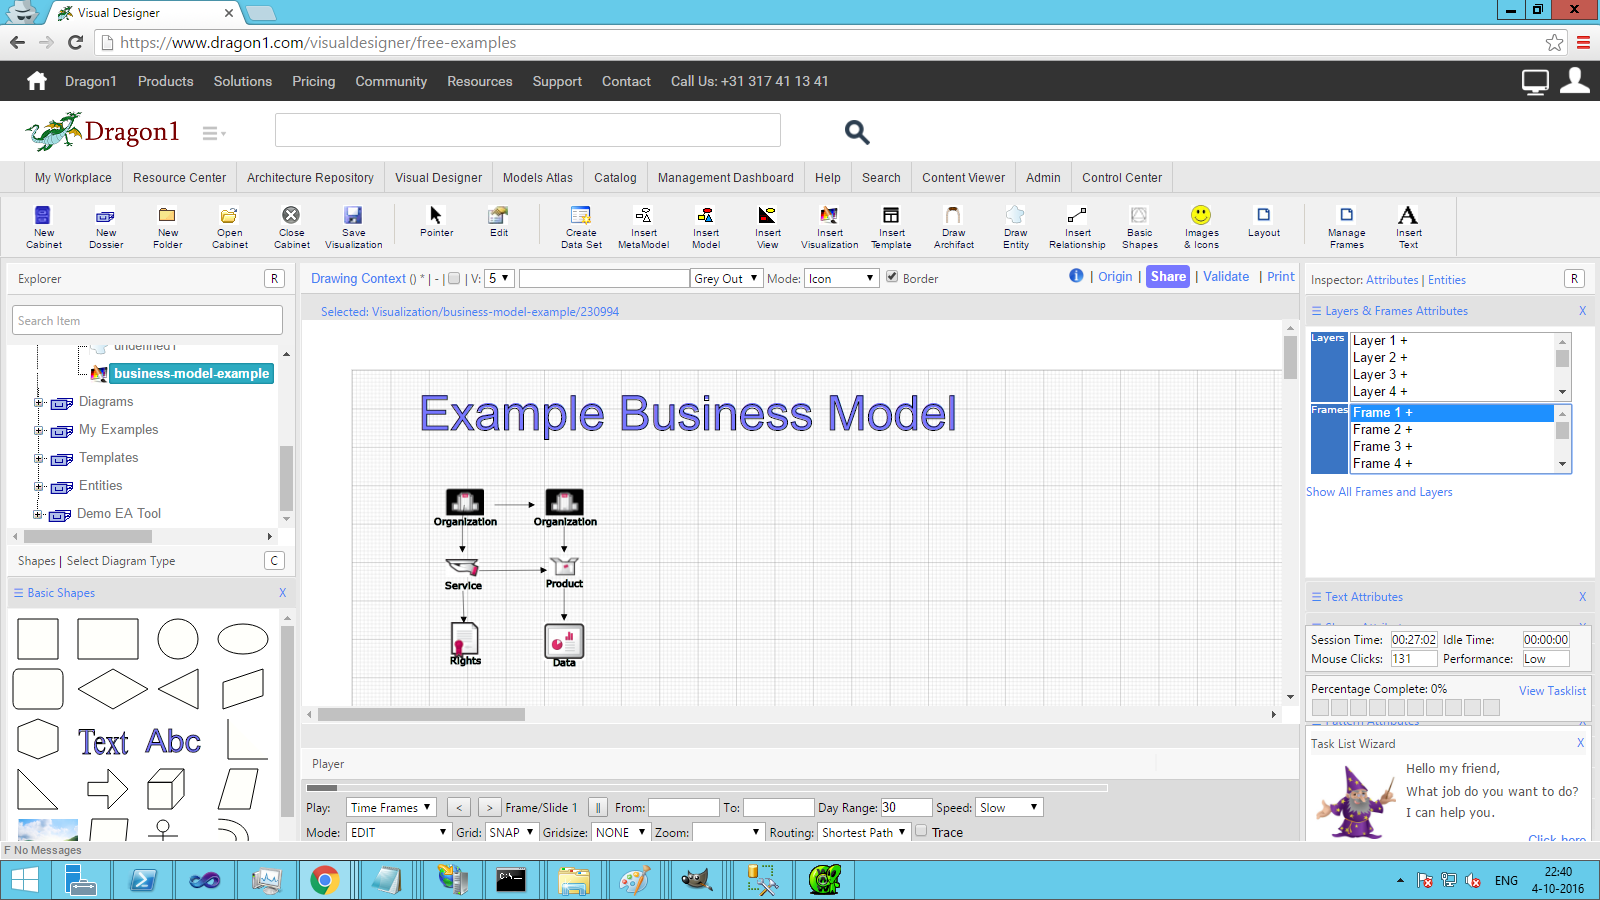
- Go to the Layers and Frames Attributes panel in the Inspector
- Click on the word Layers and Frames to expand the panel
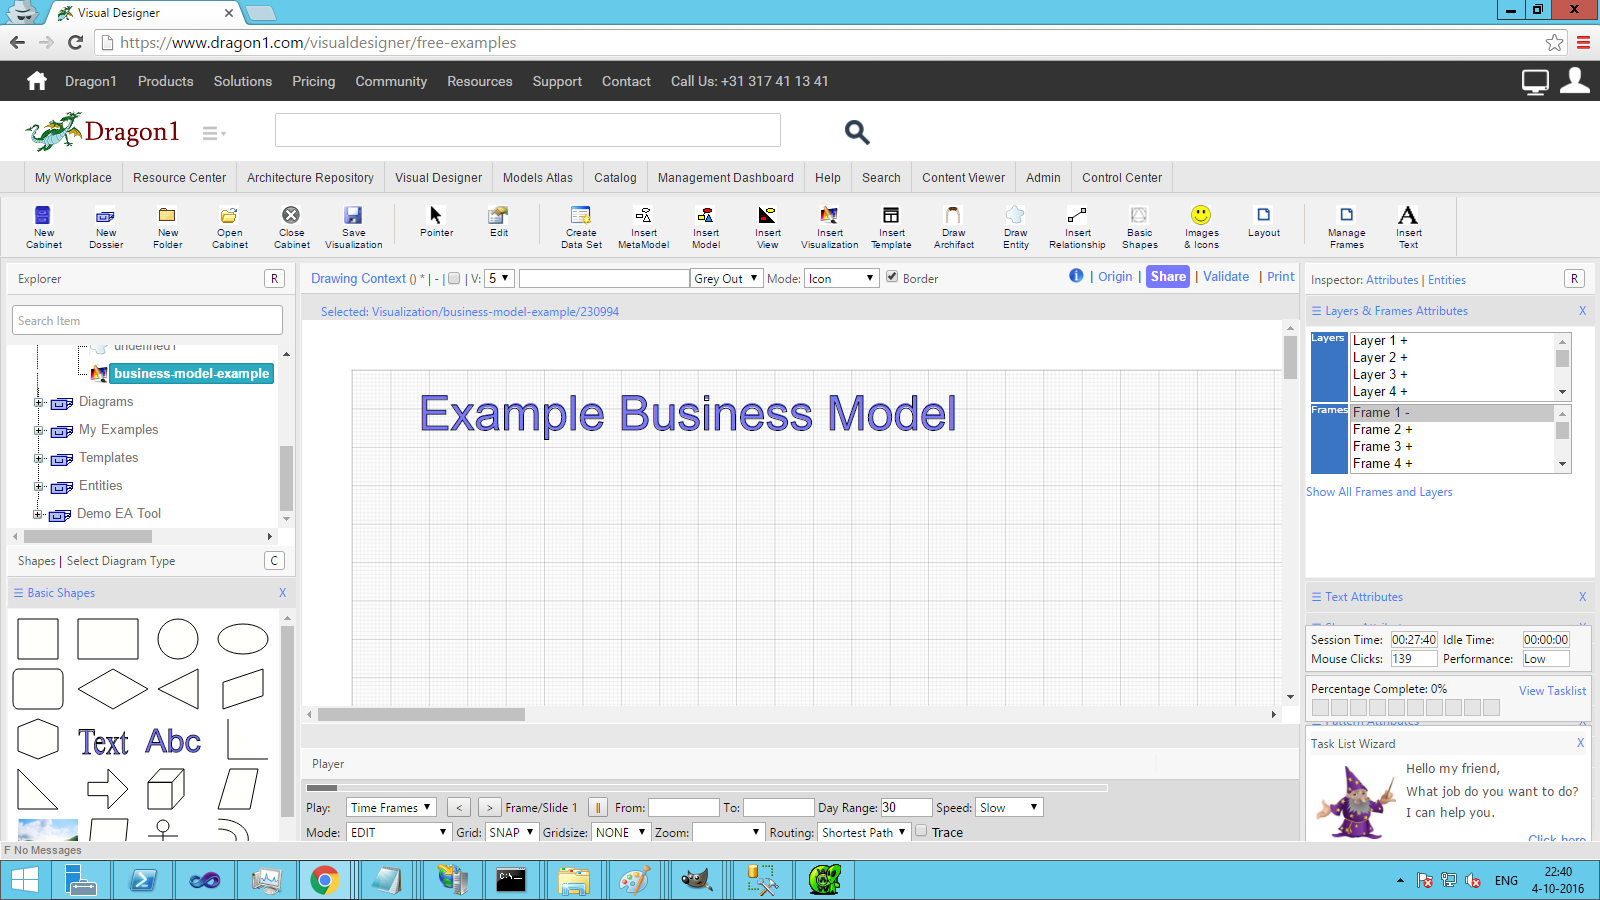
- If you click on the name of a frame, like Frame 1, you will see the plus sign change into a minus sign in the frame selector. You see, all shapes are hidden in that frame.
- If you click again, the shapes in that frame are shown again.
How to place a shape in a frame
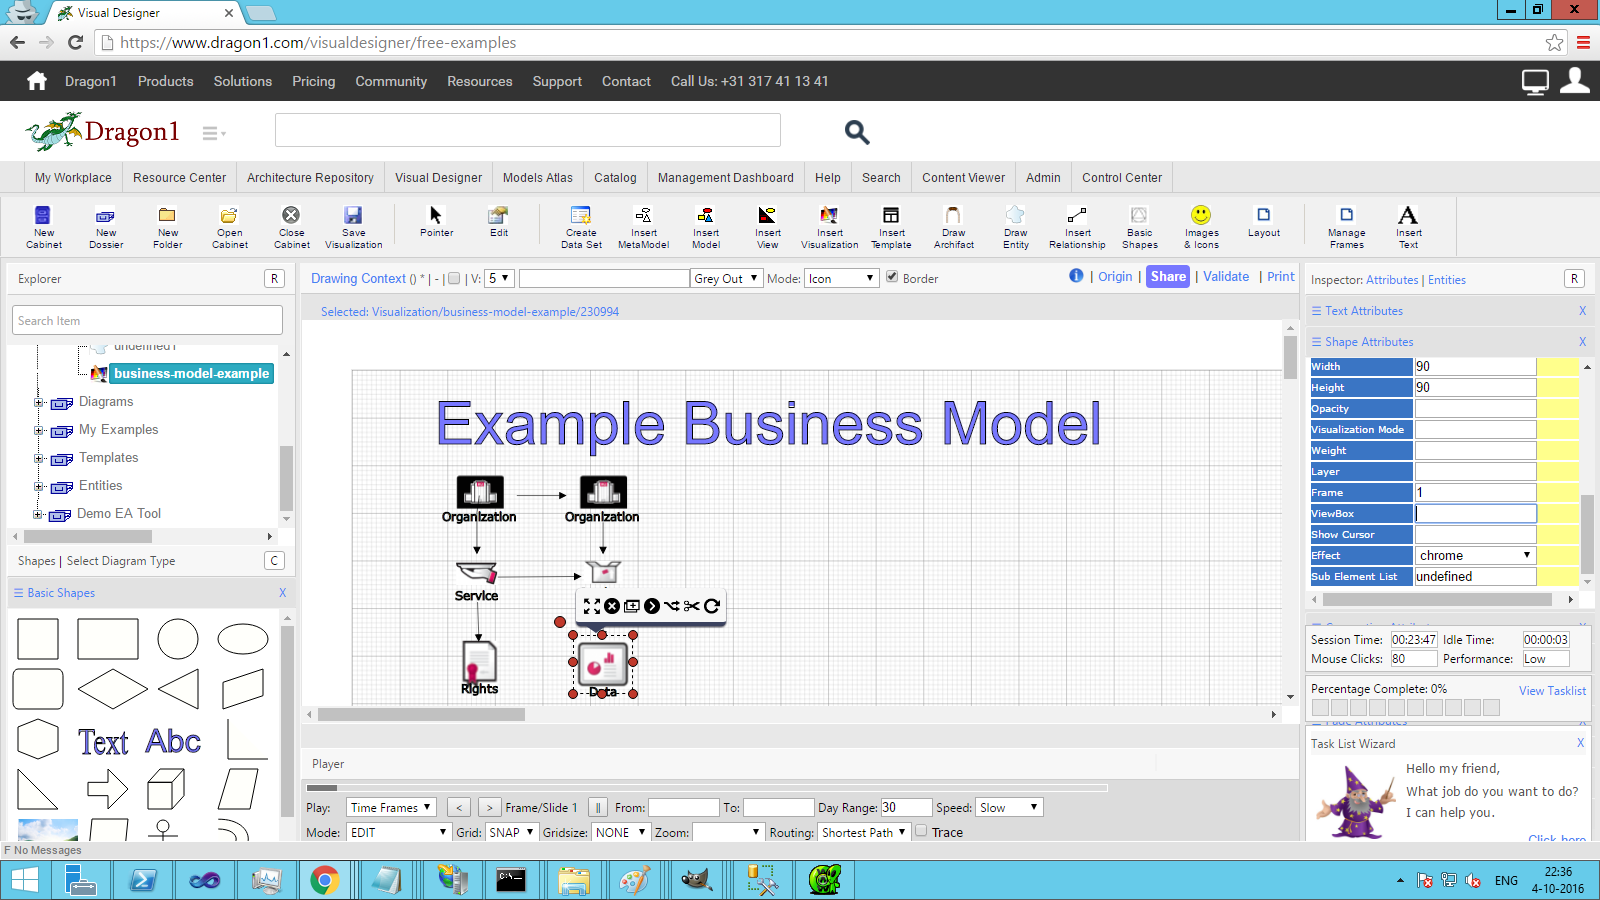
To place a shape in a frame, select the current frame using the arrow buttons in the Playerbar.
Next, drag a shape from the Shape panel onto the canvas.
If you select the shape and expand the Shape Attributes panel, you will see in which frame the shape has been put. Here, you can easily change the frame a shape is put in.
How to lock a shape in a frame
If you want to lock a shape, go to the Shape Attributes panel, select a shape, and check or uncheck the Locked checkbox.
Save your visualization's changes by clicking the Save button.
Using mouse events to show or hide frames
You can use mouse events to show or hide frames.
To show or hide a frame on a mouse click:
- Select a Visualization in the Explorer Treeview
- Drag shapes onto the visualization canvas in frame 1
- Drag a shape onto the visualization canvas in frame 2
- Select the shape in frame 2
- Expand the Data Attributes panel
- Enter the following script in the Rule fields
- Rule event: onmouseover
- Rule condition: always
- Rule action: showframe(1, fadeIn(500))
Showing All Frames
All frames and layers are shown if you click the link Showing All Frames and Layers in the corresponding panel. Frame by frame, you can switch the frames on and off.
This feature comes in handy when you have 'lost' a shape in a frame and want to recover it.
How to hide frames in the player
If you watch a published visualization in the player on a watch page or the Viewer and select AutoPlay in the Page Attributes panel, the visualization will be automatically played.
By default, all the frames are shown. If you do not want a frame to be shown in the player, select * (hidden) in the frame selector by clicking on it an extra time.
+ means the frame is visible in the Visual Designer and shown in the player
+* means the frame is visible in the Visual Designer and hidden in the player
- means the frame is hidden in the Visual Designer and shown in the player
-* means the frame is hidden in the Visual Designer and hidden in the player


