Visual Items
What is a Visual Item?
Icon / Data PlaceHolders
What are Visual Items? Visual Items are icons (shapes) that can be configured as icon/data placeholders.
Visual Items can be used to generate data in a specific layout on the canvas using icons.
Although there is a specific icon for a visual item, the sun shape, any icon can be used/treated as a visual item. If you use any icon other than the specific visual item, Dragon1 will use the shape of the icon by default for data generation.
Depending on data and rules, you can change icons' colors, names, and positions with a visual item. Suppose you want to know which application has no service-level contract. You configure visual items to color applications without service level contract data red and have it show a call out.
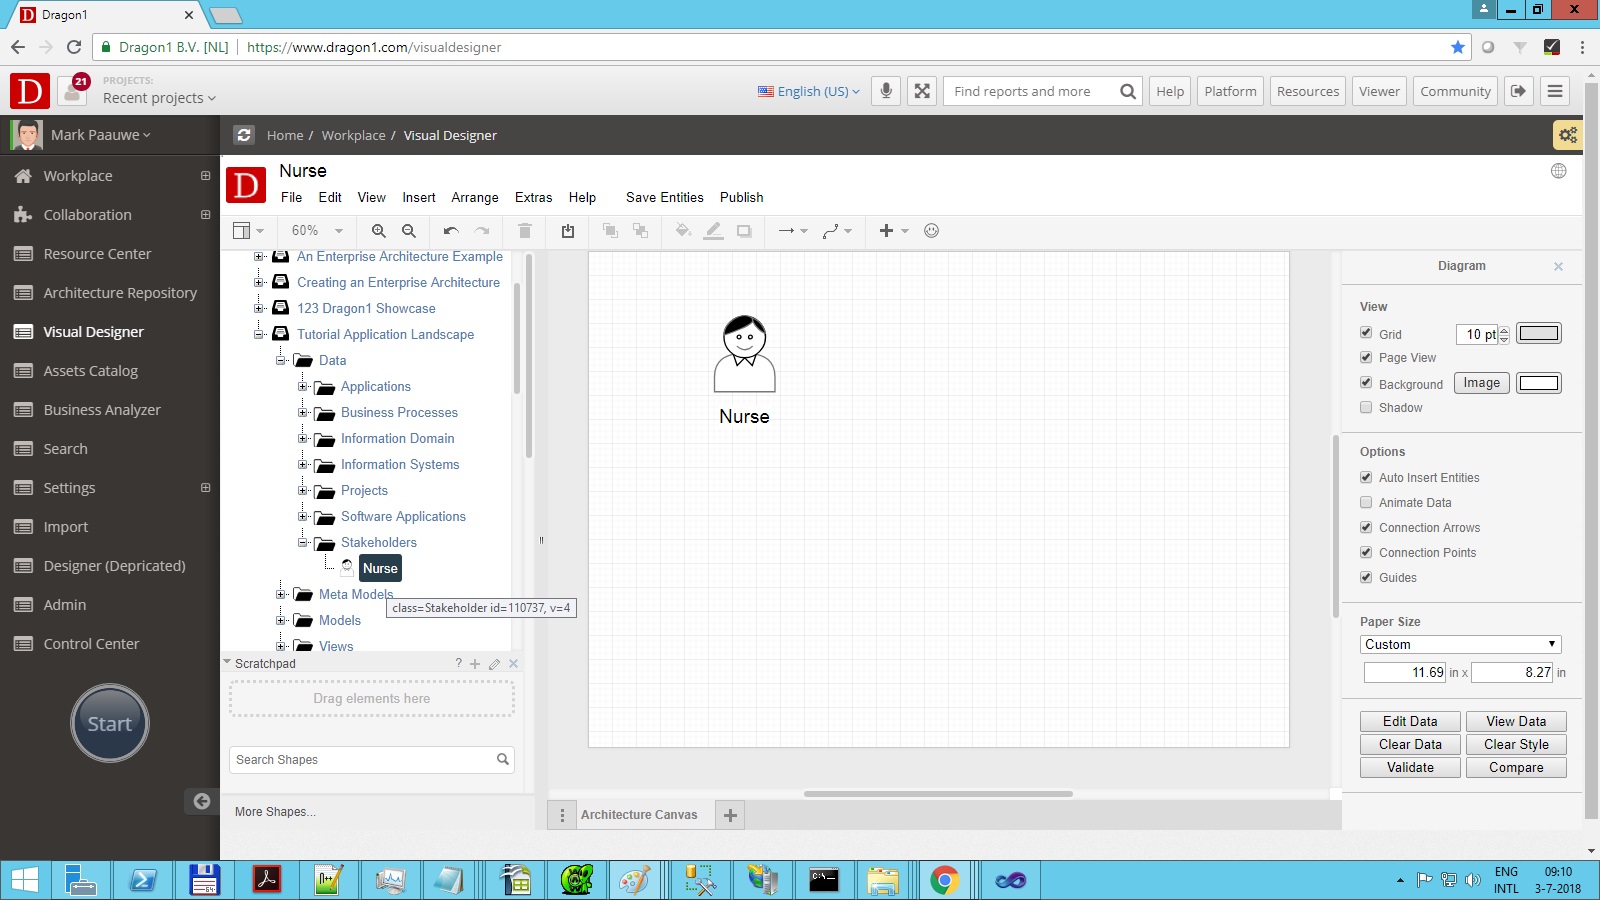
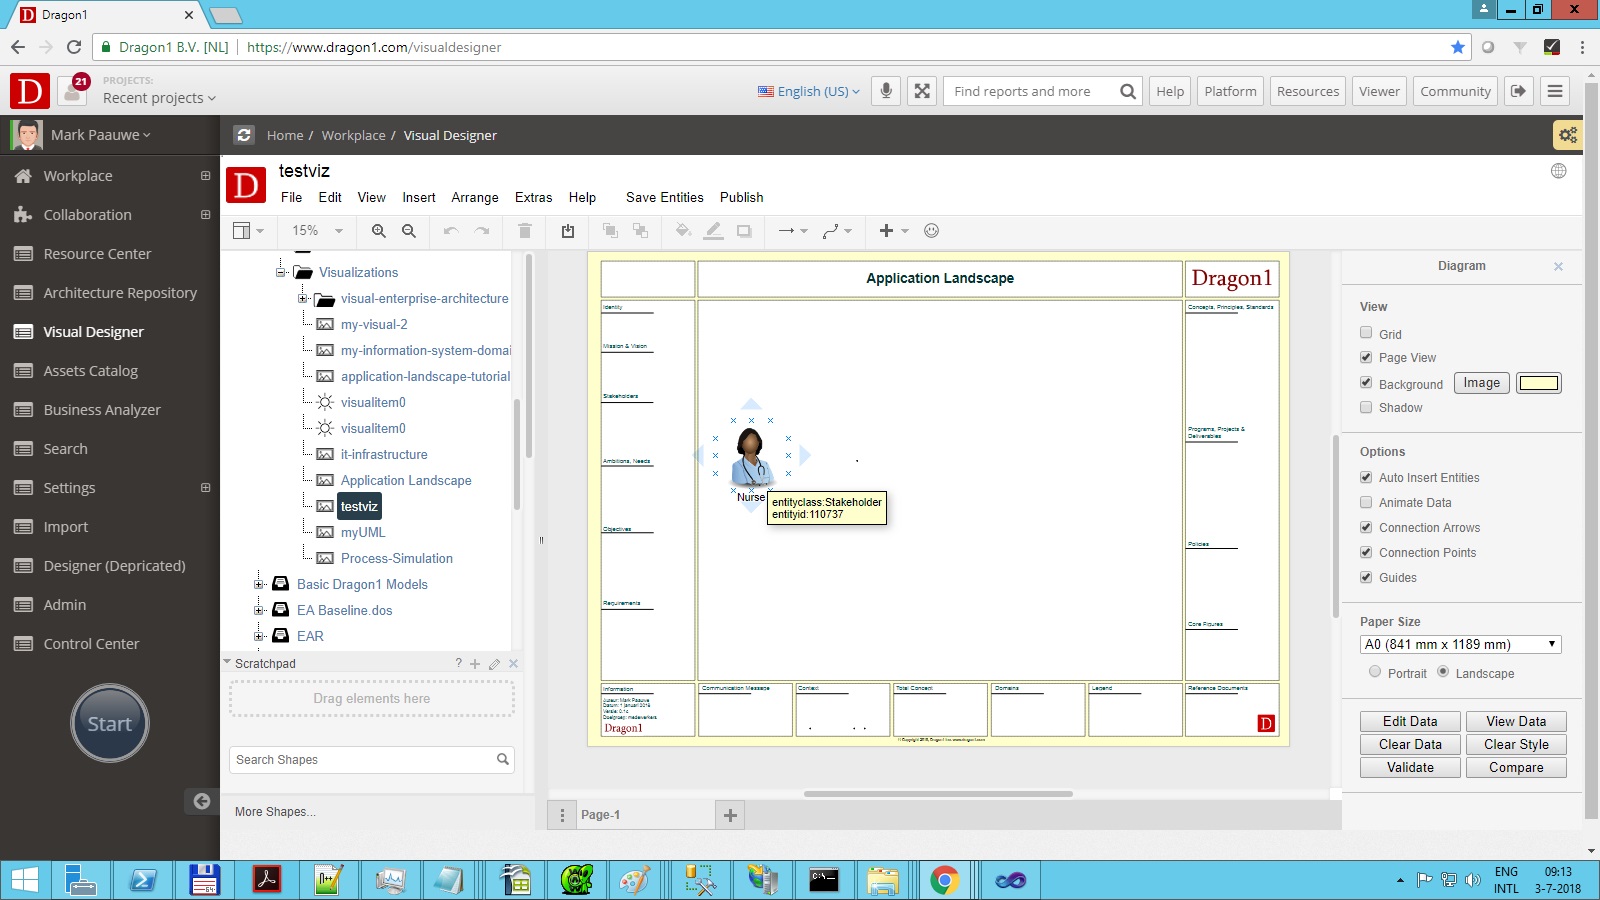
Below is an example of a stakeholder entity linked to a visual item. If the stakeholder entity in the repository changes its name, the visual item will automatically change its name.
Attributes
The following reserved attributes are available for configuring a visual item:
- entityid
- entityclass
- entityname
- entitytype
- layout
- spacing
- opacity
- icon
- width
- height
- rows
- cols
To add specific behavior of coloring, repositioning, and changing size using the following attributes:
- ruleevent
- rulecondition
- ruleaction
- rule2event
- rule2condition
- rule2action
- rule3event
- rule3condition
- rule3action
- showentityclass
- showentityclass2
- showentityclass3
- showrelationship
You can add up to three rules in a visual item.
Views and Folders
Once you have placed data in a folder or created a model or a view (a filter on a model), you can link a Visual Item to that folder, model, or view and place the Visual Item on a visualization canvas, telling the Visual Item which shapes, sizes and colors it should use to draw the data from the folder or view on the visualization.
Inserting a Visual Item on a Visualization Canvas
Before using a Visual Item, you need to have data in a folder and a model and view in place.
To insert a Visual Item on canvas:
- Select a folder
- Insert a visualization
- Give a name to the visualization
- Click OK
- Select the visualization
- Insert a Visual Item by dragging a shape onto the canvas of the visualization
- Save the visualization
Editing the Visual Item on a canvas
Now we have to set up the Visual Item
To setup the Visual Item:
- Select the Visual Item in the Explorer Treeview
- Click Edit. The New/Edit Dialog is shown.
Viewing the Visual Item on its own
To view the visual item:- Select the Visual Item in the Explorer Treeview
- Switch to NORMAL model in the player bar
You see the Visual Item being interpreted by Dragon1. It now acts as a puzzle piece, like a mini visualization.
Viewing the Visual Item on the visualization canvas
- Select the visualization in the Explorer Treeview
- Switch to NORMAL model in the player bar (if not already)
Now you see the visualization interpreting all the visual items attached.
The rules you need to configure for the visual items are the same as for the views.
Giving every shape its bitmap on the visualization
To give every shape its bitmap on the visualization:
- Select a model in your Explorer Treeview
- Select a shape on your model canvas
- Enter a source URL in the Text Attributes panel in the Inspector on the right
- Save your model
- Select a Visual Item in your Explorer Treeview
- Click Edit
- On the behavior TAB in the New Edit dialog, change the rule action field into show(image)
- Click OK
- Select the Visual Item or visualization in NORMAL mode
- You will see the visualization showing configured bitmaps for shapes.
- If no bitmap is configured, the basic shape used in the model is shown.
Create a List of Items
You can create a list of items with and without shapes. You can present the list in a row, column, circle, triangle, rectangle, square, or block.
Filter Instances
Suppose you have 10 Processes with 2 types and want to filter one of the types. You only need to add entitytype as an attribute and a value to filter on (include). If you want to exclude the value, precede it with the unequal sign, like this: <>EXTRA


