Working with Views
Learning Objectives
In this lesson, you will learn what views are and how to create dynamic and generated views.
- What is a view? And why do we make use of views?
- Create a View
- Setup a View
- (Re)Use a View
- Create a view consisting of different models
Views: Why and What?
A View is a filter on a model that you can use as input for a visualization. On Dragon1, you can draw static view diagrams like you are used to doing in PowerPoint or Visio. You can also create unique, generated, and dynamic views.
The use of filtering data
In every organization, there are a lot of entities. Thousands. And every entity has ten or more data attributes. For consistency reasons, you want to create an enterprise model (a single model or a grouped set of models) containing all the organization's entities.
Stakeholders, the people looking at your diagrams, do not always need all available information. They want to focus on specific information and make a decision based on it. Therefore, with views, you have the option to filter out any unnecessary information (attributes, values, and entities).
Dynamic and Generated Views
Suppose your organization has business processes, software applications, and server computers (every organization has that). These entities are all related to each other. If you change your processes, applications, or servers, you don't want to manually update all diagrams containing the changed, new, or deleted entities.
On Dragon1, you only have to change the entered entity data. Automatically, the models, views, and visualizations that use that data are updated. And if you do not want that to happen, you can switch off the auto-update feature.
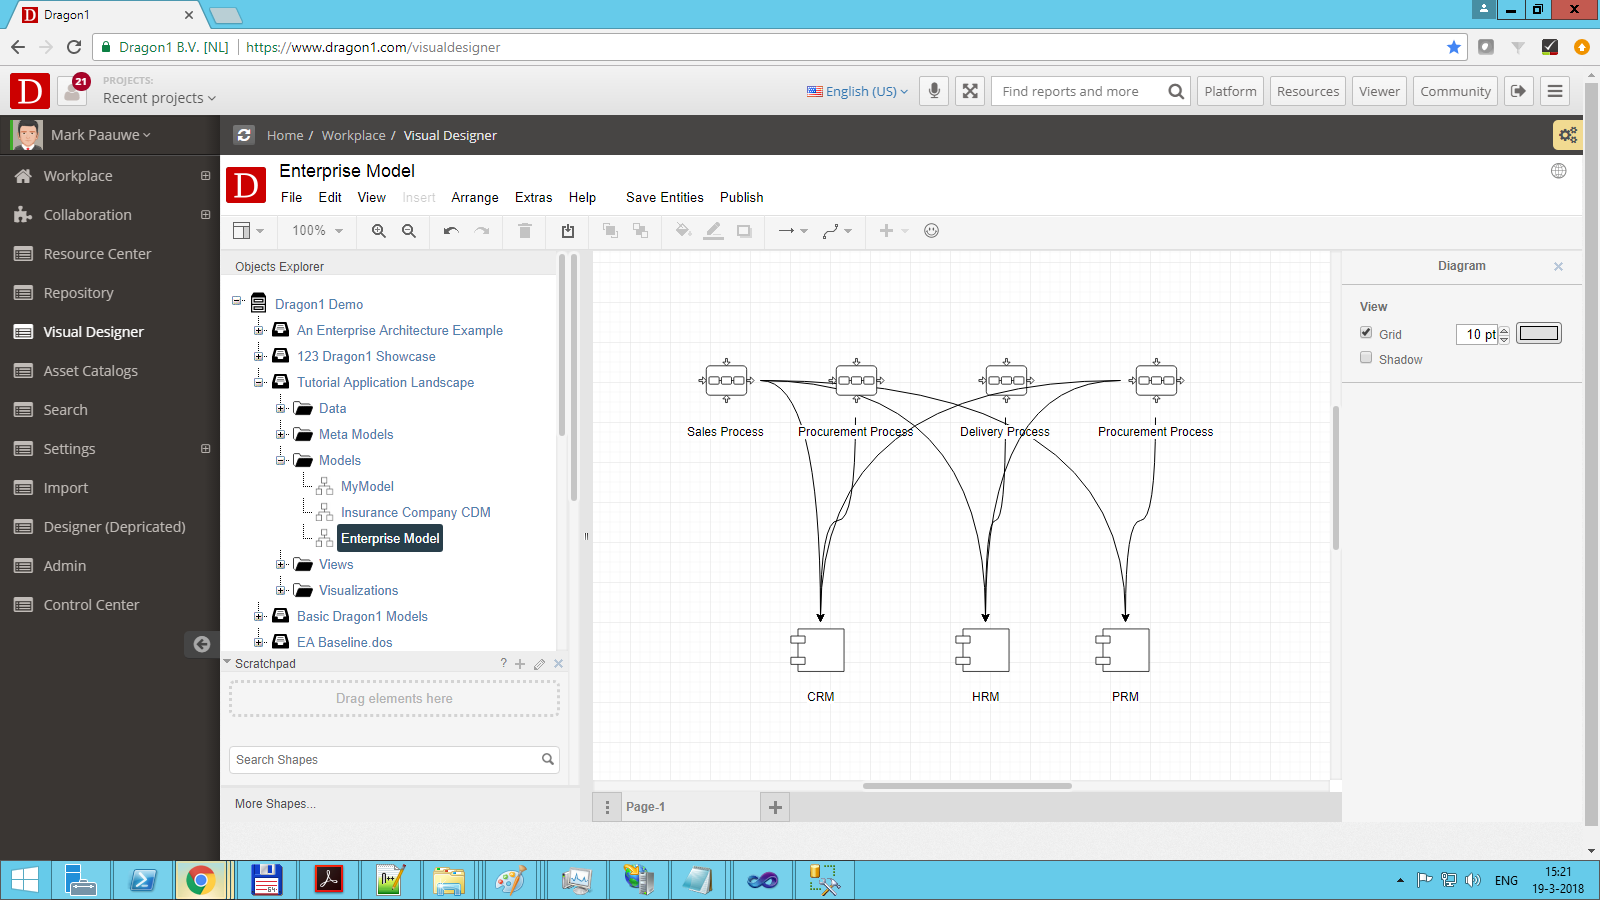
Below is an example enterprise model of processes supported by applications. We are going to create an example view where we filter out certain data from this model.
Create a View (Architecture Repository)
To create a view:
- Select a folder in the Explorer Treeview
- Click Insert View on the Button Bar
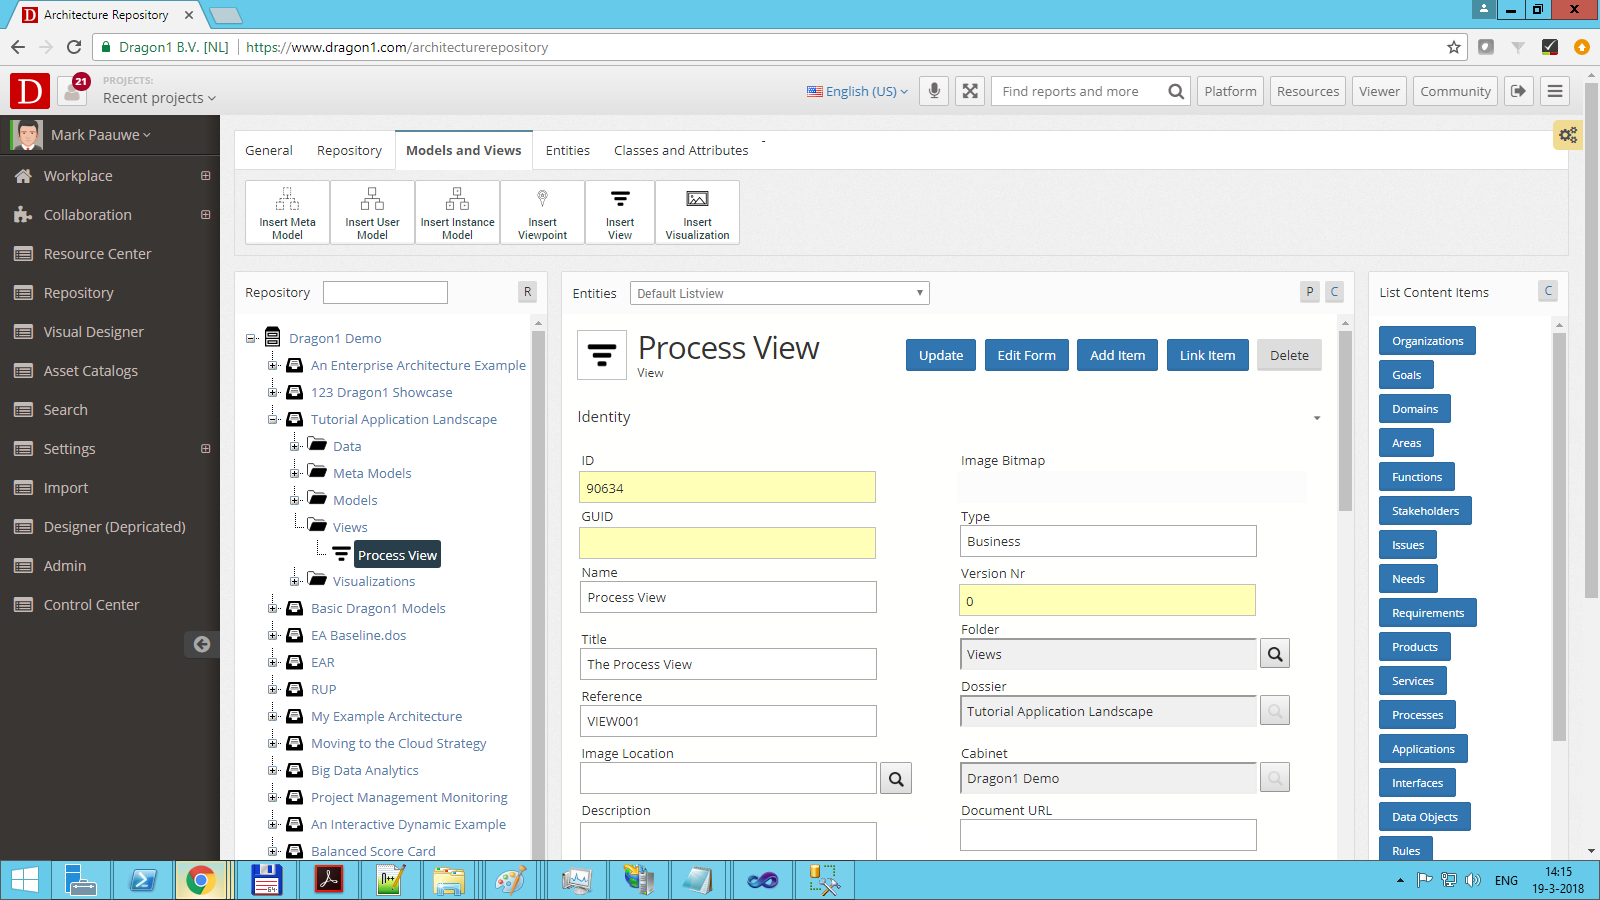
- Select the added View in the Explorer Treeview
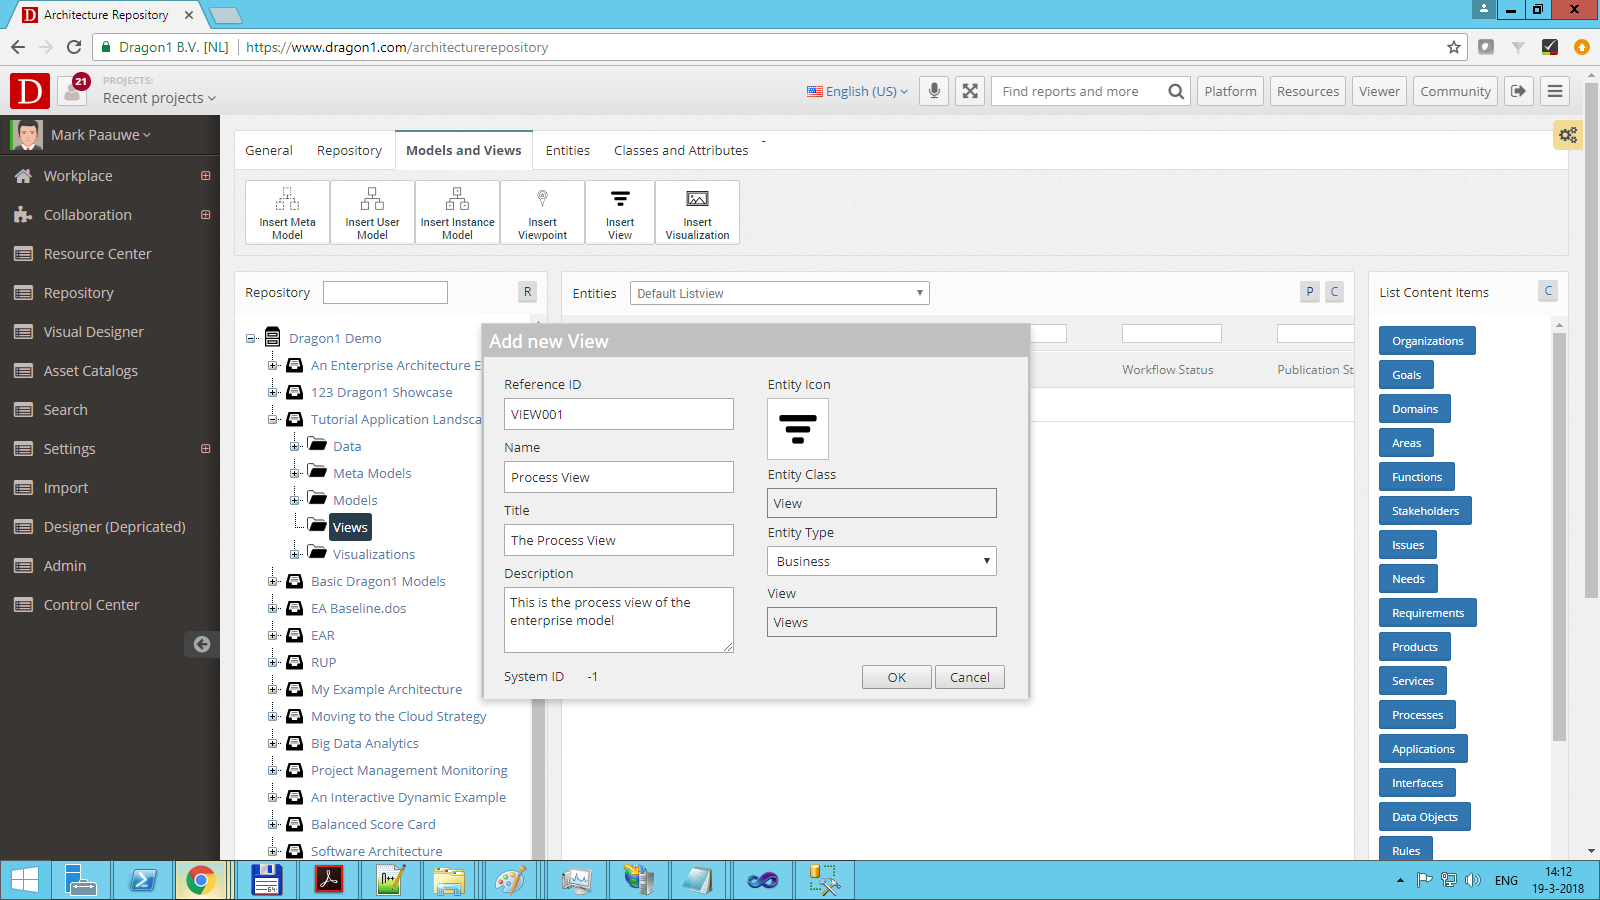
- Click on Edit in the Button Bar. Now the New/Edit dialog appears
- Enter a correct name in the name field
- Click OK
You have entered a view.
Setup a View (Visual Designer)
For a View to work, you have to set it up. It would be best if you had at least a model. And you need to configure one or more rules that filter out data from the model.
To setup a view:
- Select a view in the Explorer Treeview
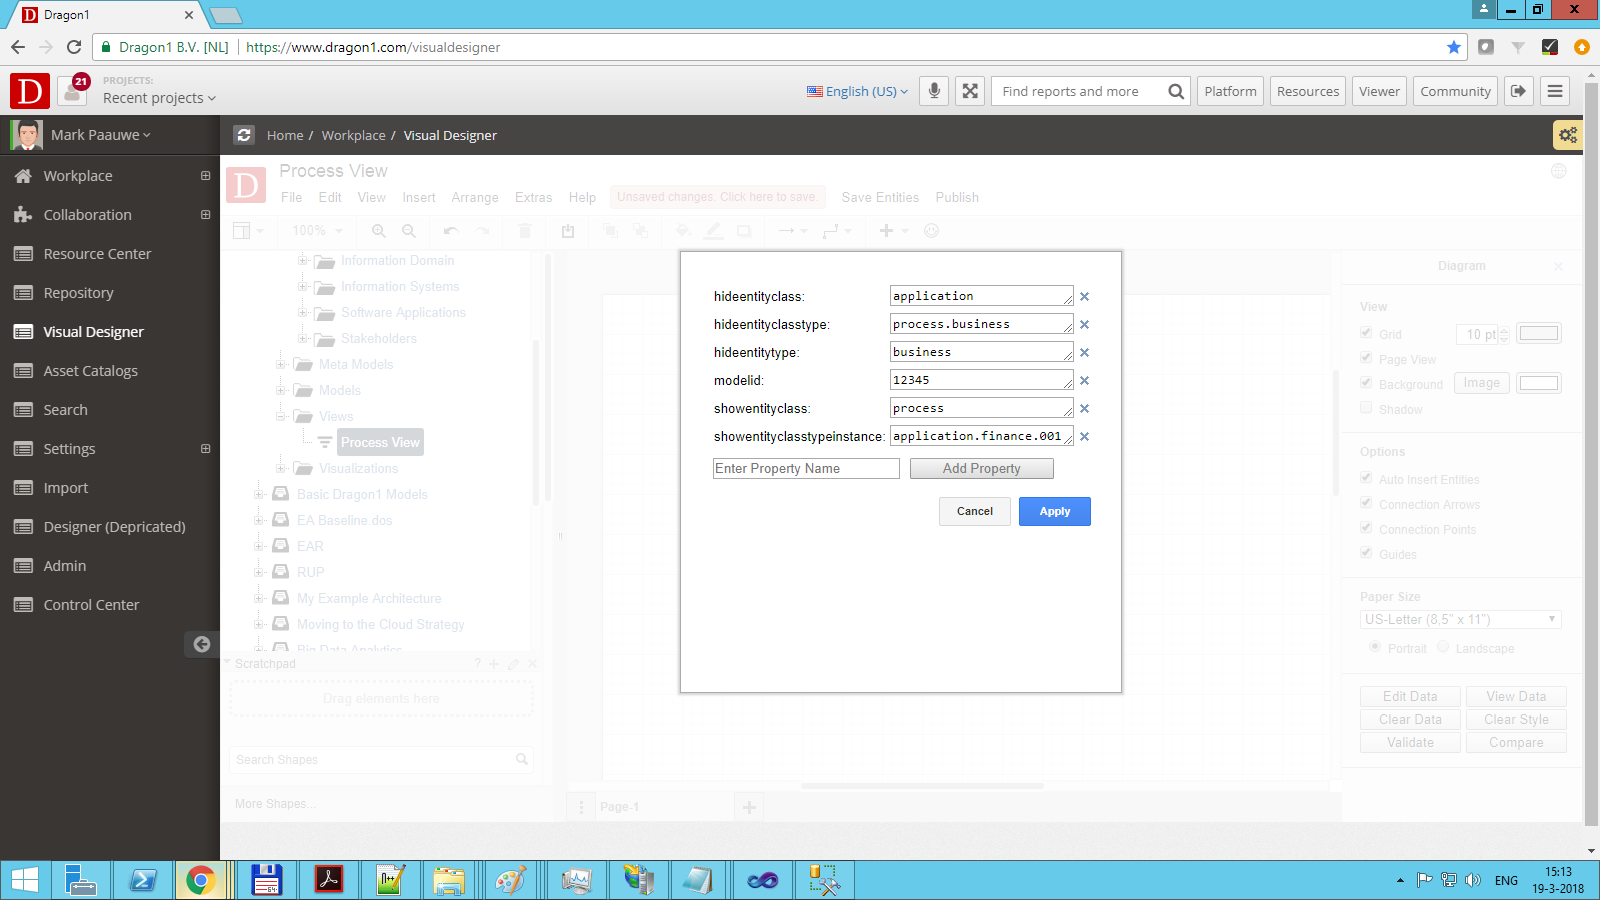
- Click on Edit Data in the Inspector Bar at the right. Now the New/Edit Properties dialog appears
- Enter the properties as shown below in the example.
- Use opacity with a value between 0 and 100 for the filtered-out items.
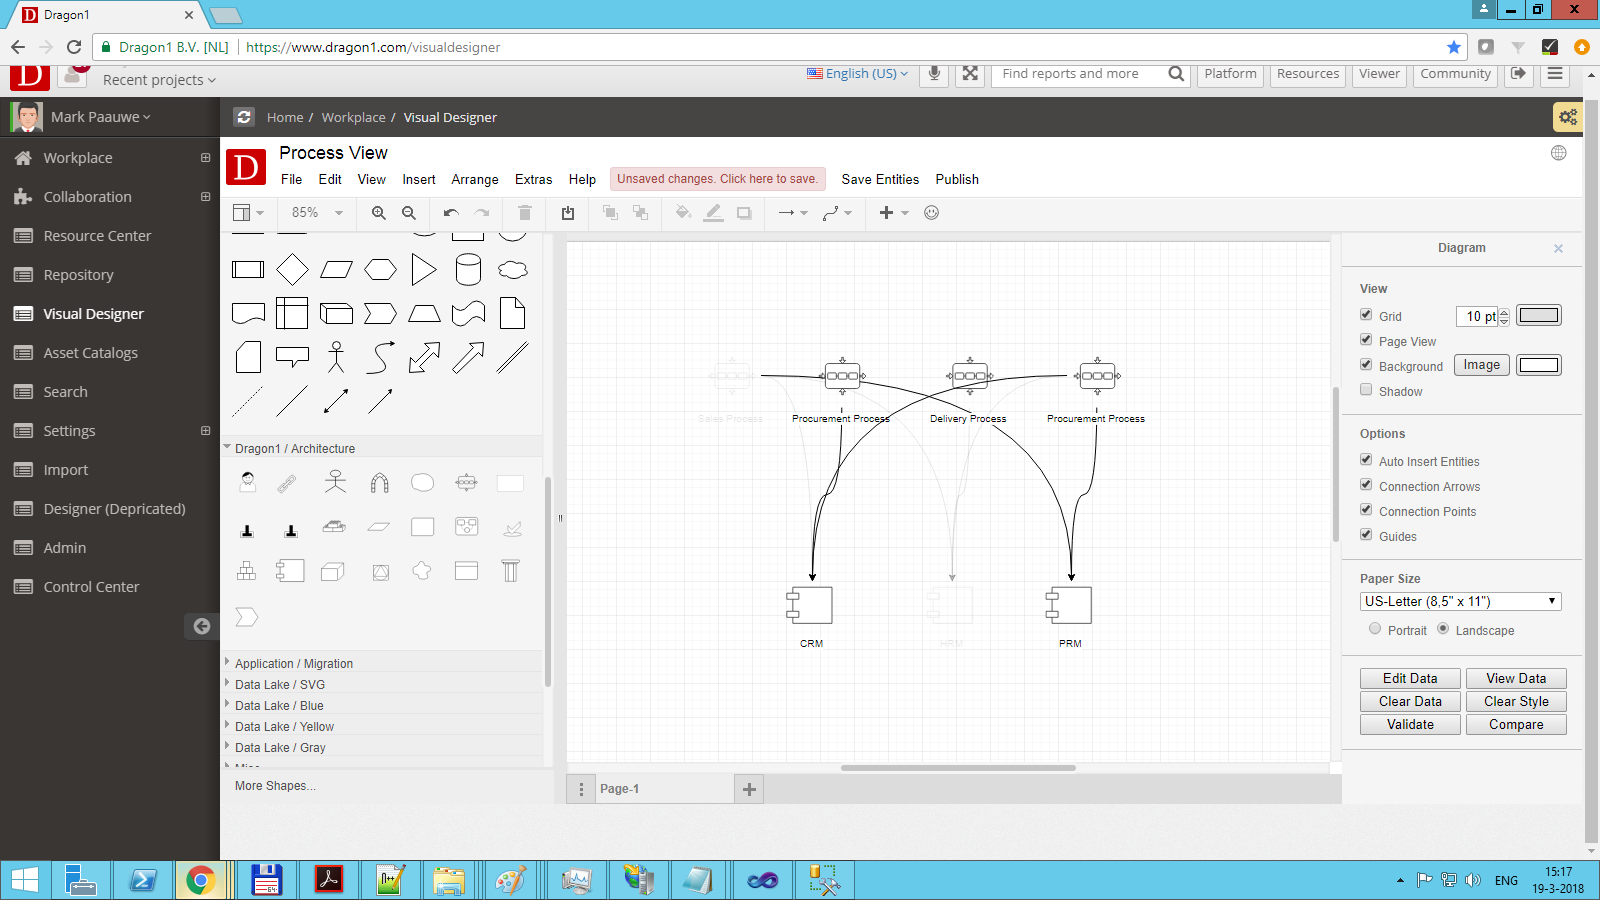
Setting up a view like this will filter out nothing, some entities, or all entities. You can use this View (filtered model) again as input for a visualization.
If you have saved as View and clicked on the item in the tree, the View Data button will automatically be clicked. To access the view properties, click on Clear Data.
See an example with screenshots of creating a Simple View here.
There are many options for the rule event, rule condition, and rule actions field in a view. Read all options for views here on this page.
If you click on View Data, the following resulting View is shown:
(Re)Use a View
A view can be used more than once. You can use and reuse a view as much as you like. You can also combine views into one View or use more than one View in one visualization.
To use a view in a visualization:
- Select a visualization in the Explorer Treeview
- Click Edit on the Button Bar
- Select the correct View for the visualization
- Click OK
To use more than one View in a visualization:
- Select a visualization in the Explorer Treeview
- Click Edit on the Button Bar
- Enter a semicolon-separated list of view Ids in the rule condition field on the Behavior TAB: ViewId=111;ViewId=432;ViewId=5363
- Click OK
To combine views into one View:
- Select a view in the Explorer Treeview
- Click Edit on the Button Bar
- Enter a semicolon-separated list of view Ids in the rule condition field on the Behavior TAB: ViewId=111;ViewId=432;ViewId=5363
- Click OK
If you select the View in the Explorer Treeview, you will see a combined set of view data.
Saving Zoom factor and Position
You will have noticed that you sometimes have to zoom out and reposition your canvas with the scroll bars to see the view data.
You can also save that zoom factor and scroll bar position by pressing Save Visualization.


