How to Create an Enterprise Model
This tutorial will introduce creating a basic Enterprise Model with a dynamic view and interactive visualization.
On Dragon1, you can create static and dynamic visualizations. A static visualization is only drawn on the visualization canvas. A dynamic visualization consists of data, a model, a view, and visualization. When the data or the model changes, the visualization changes.
You will create the enterprise model, view, and visualization by only using the web application Visual Designer.
You will take the following steps:
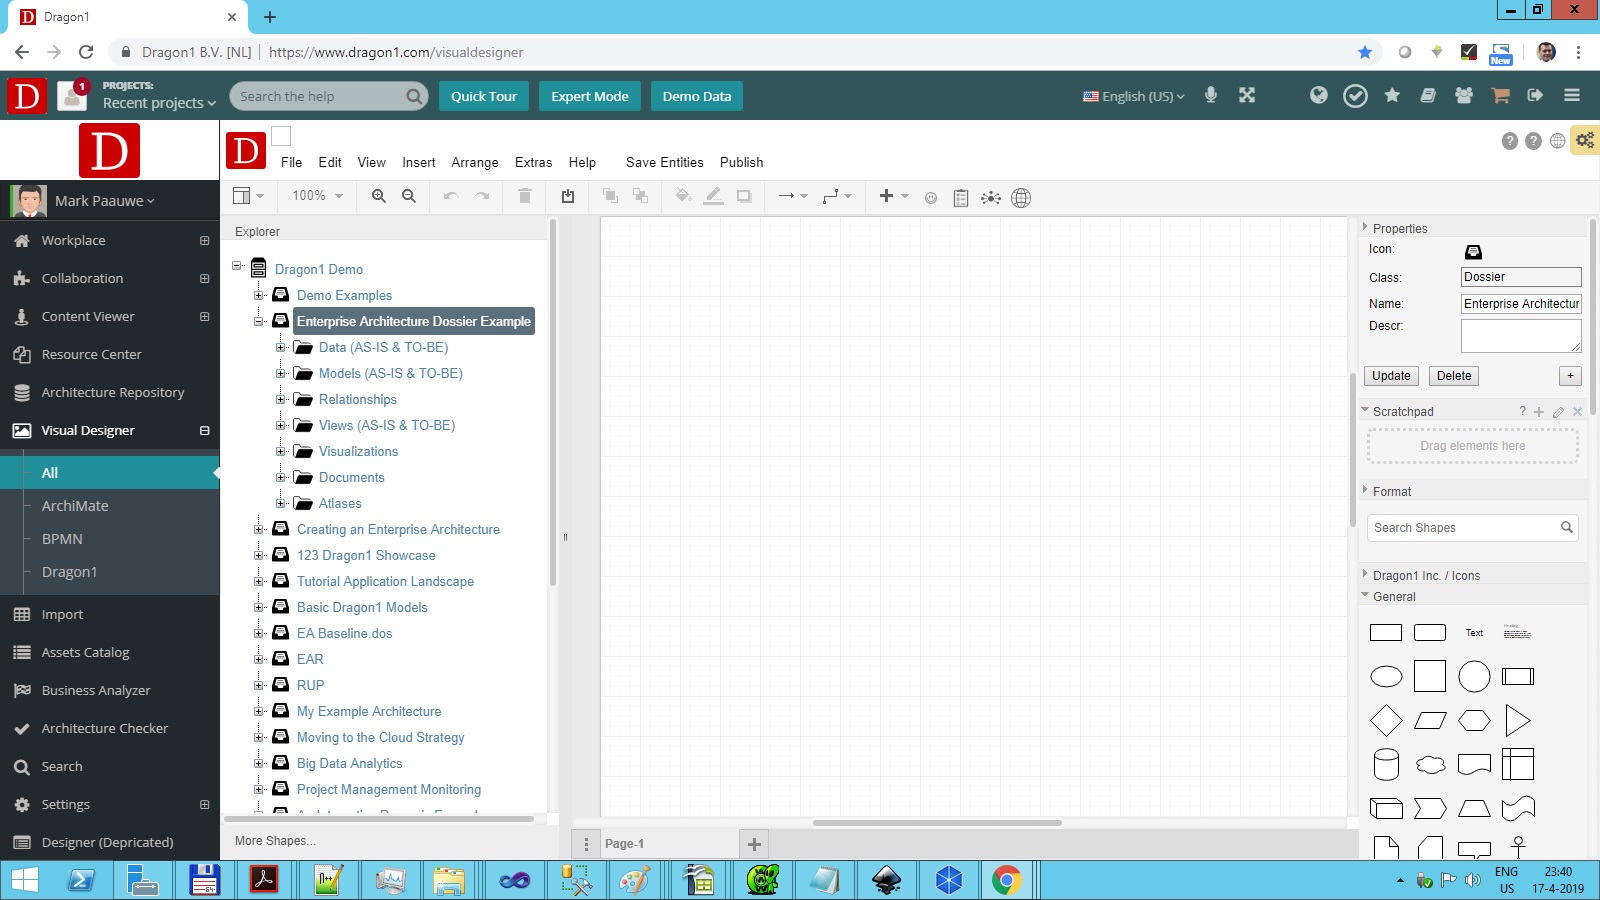
- Create a Dossier structure
- Create a Model
- Create a View
- Create a Visualization
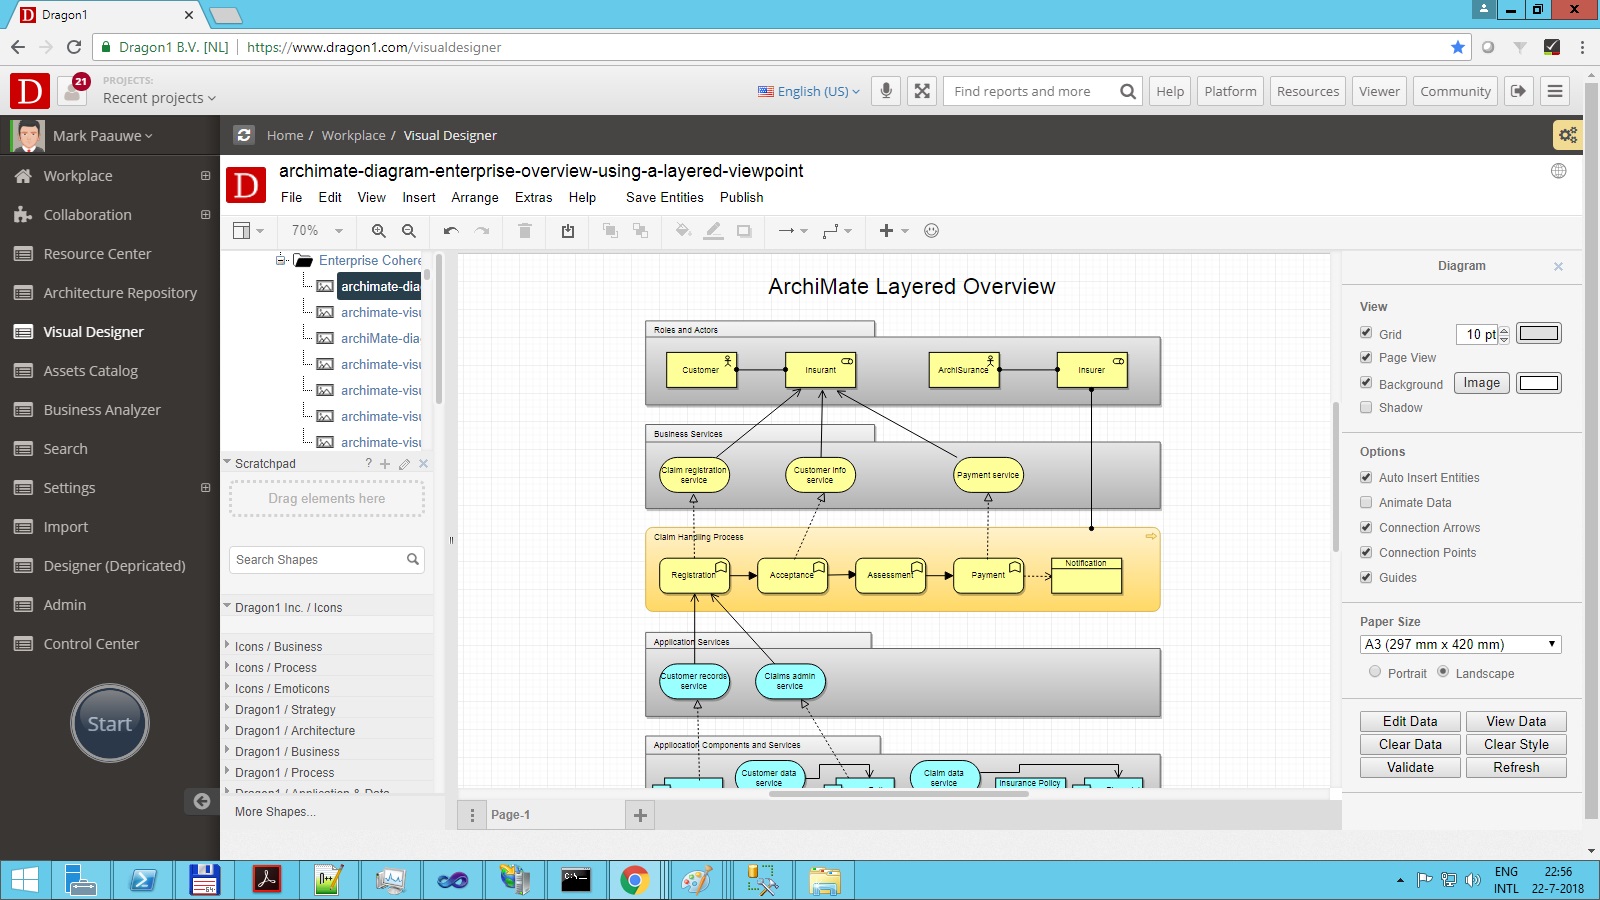
Enterprise Model Example
This visualization shows five layers, with each layer containing entities:
- Roles and Actors
- Business Services
- Claim Handling Process
- Application Services
- Application Components and Services
Step 1. - Create a Dossier Structure
First, we are going to create a dossier structure in a cabinet to store our data in.
To create a dossier structure:
- Go to the Visual Designer
- Create or open a Cabinet
- Select the cabinet in the Explorer treeview
- Create a dossier
- Create four folders in the dossier: Data, Model, View, and Visualization
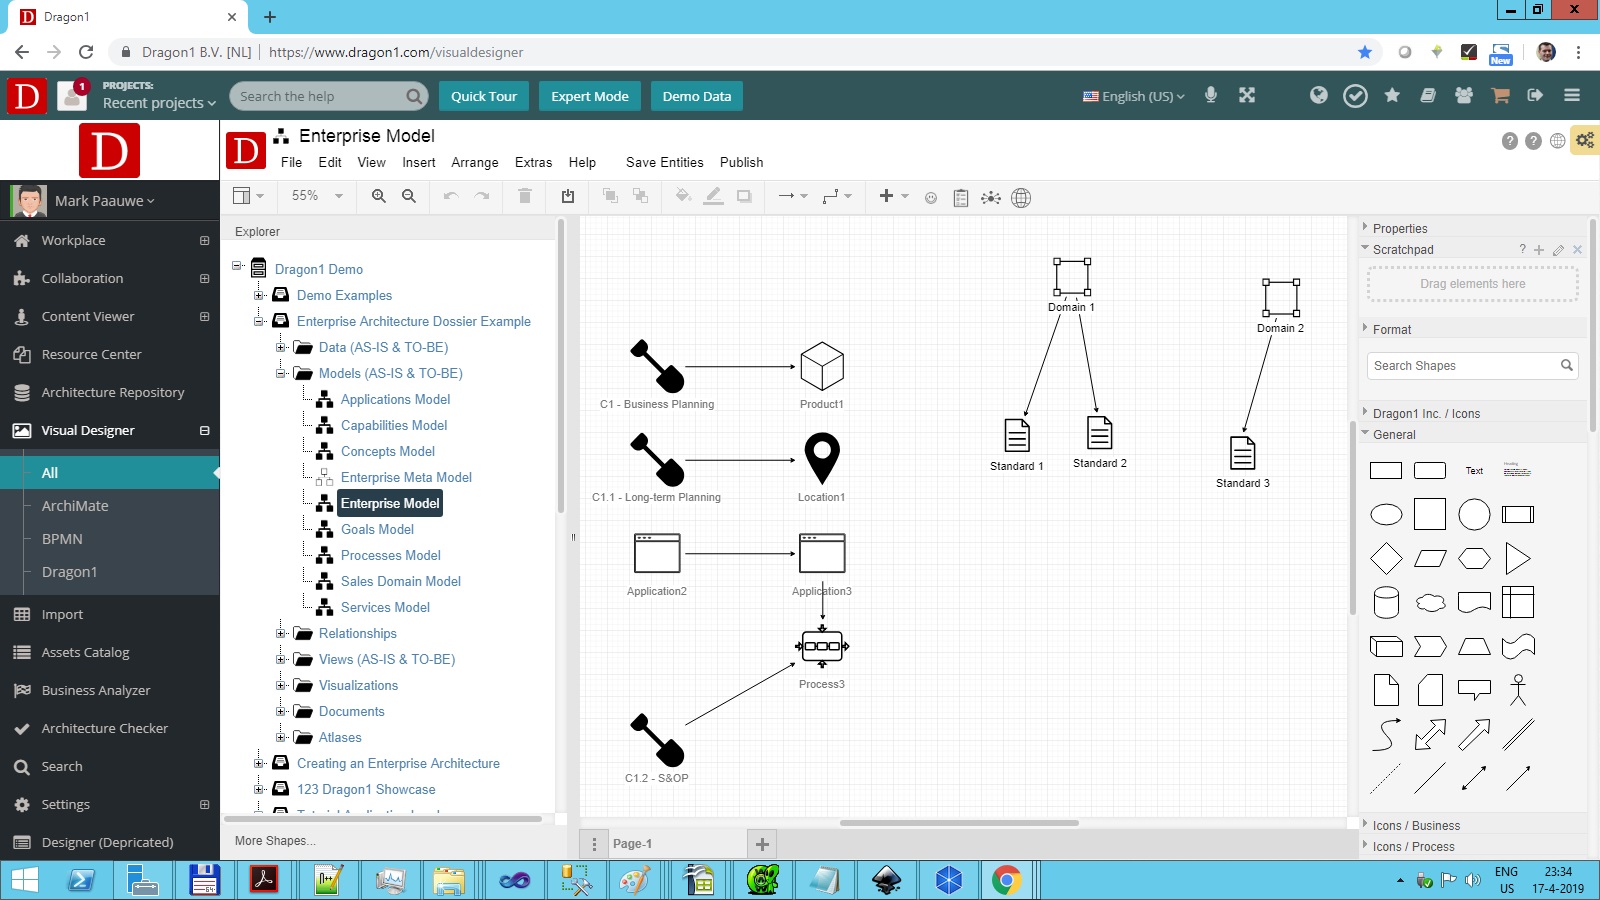
Step 2. - Create a Model
To create a model:
- Go to the Visual Designer
- Create or open a Cabinet
- Select a folder
- Insert a model entity from the menu bar
- Enter a name for the model
- Optionally choose a type for the model
- Insert shapes, like processes and applications, for the model by dragging a shape from the panels on the right onto the canvas
- The entities you draw are inserted into the treeview automatically as data objects
- You can change the color and size of the shapes
- Draw connections between the shapes using the smart tools of a selected shape
- The relationships you draw are inserted into the treeview automatically as data objects
Step 3. - Create a View
To create a view:
- Go to the Visual Designer
- Create or open a Cabinet
- Select a folder
- Insert a view entity from the menubar
- Enter a name
- Select the model to use
- Enter a viewing rule for the model data:
- Showentityclassonvalue: Applications.EndOfLife='2009'
- Backcolorentityclassonvalue: Applications.Vendor='Microsoft';Red
- Save the view
- Select the canvas of the view
- Click on view data to see your view generated
- When data or relationships in your model change, your view will change
Step 4. - Create a Visualization
To create a visualization:
- Go to the Visual Designer
- Create or open a Cabinet
- Select a folder
- Insert a visualization entity from the menubar
- Drag a shape on the canvas. You will use this shape to generate the view data on the canvas.
- Unlike with a model, shapes are now not automatically inserted in the treeview
- Save the visualization
- Select the shape
- Choose Edit data
- Enter the following properties to configure the shape as a visual item:
- Entityclass:Application
- Layout:Block
- Columns:10
- Rows:10
- Orginal:yes
- Viewid:1234567


